
What shots should a product demo video include?
A hook shot, a detail, the product in use and a clean finish make a clear demo sequence you can shoot at home.
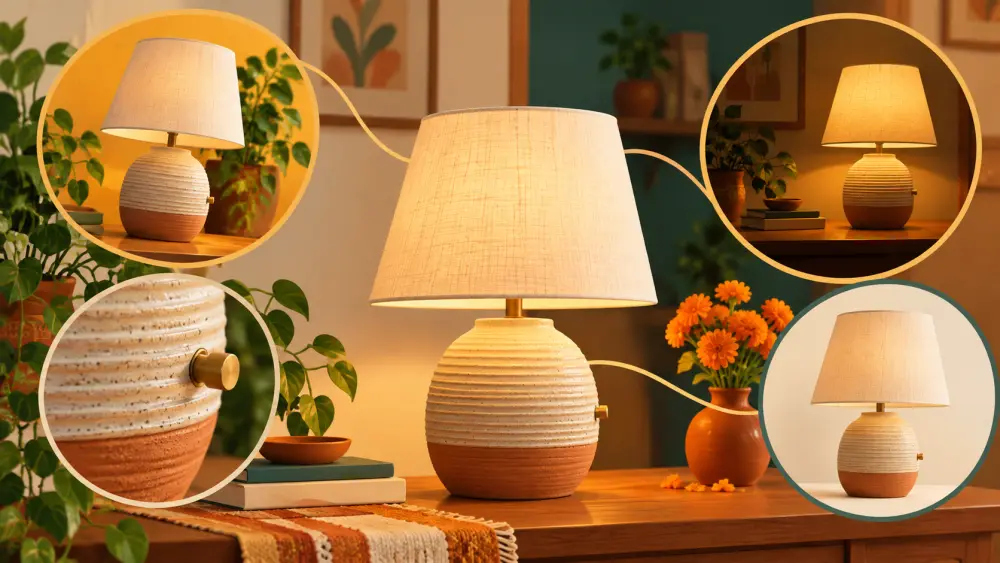
A product demo video answers a buyer's silent questions: what is it, how big is it, how does it work, and what will I actually get? You can cover all of that with a handful of simple shots. This post gives a sequence you can adapt to most products. Do not treat the lengths of the shots as rules; let the product decide how long each one needs.
Shot 1: the hook
Start with the most interesting or most useful view of the product. For a candle it might be the flame; for a bag, the bag opening to show the inside; for a bottle, a hand picking it up. The hook should show the product itself, not a title card or a long intro. The viewer decides quickly whether to keep watching, so get to the product early.
Shot 2: the whole product
Show the full product, clearly lit, on a simple background. Hold still for a moment. This is the shot that tells the customer exactly what they are buying, so avoid props that could be mistaken for part of the product. Our post on what the main product photo should show applies equally to video.
Shot 3: detail close-ups
Move in close on the features that matter: texture, stitching, finish, a zip, a clasp, a label. Pick two or three details rather than every detail. Keep the camera steady and move slowly. If the detail is tiny, such as a jewellery setting, use a closer approach as in photographing earrings and rings close up.
Shot 4: scale
People often misjudge size from photos. Show the product next to a hand, a common object or in use on a person. See photographing products for scale. Avoid using an object whose size varies, such as a fruit, unless it is obvious.
Shot 5: the product in use
Show it doing its job. Pour from the bottle, wear the earrings, open the lid, apply the cream, load the bag. This is where the video earns its place over a photo. Keep hands neat and the action unhurried. For ideas, read shooting products in use.
Shot 6: what is in the box
If the product comes with extras or packaging, show exactly what the customer receives. This prevents confusion about props that were only there for styling. If you want to go further, an unboxing video is a natural next step.
Shot 7: the finish
End with a clean shot of the product alone, with space around it, and hold for a beat. If you want a call to action, say or caption something short such as the product name and where to buy it. Avoid claiming results you cannot support, especially for skincare, food or health items.
Putting it together
A good order is hook, whole product, detail, scale, in use, contents, finish. Not every product needs all seven. A flat print might only need the whole product, a detail and a scale shot. Write the sequence on paper before shooting, and tick each item as you film it. For the practical setup, see recording a short product video with a phone.
Add text carefully
If you add captions or text on screen, read how to add captions to product videos. Keep text in the margins so it does not cover the product.