
How to photograph earrings and rings up close
Small jewellery is hard to photograph because everything is tiny, shiny and hard to hold still. Here is how to use simple props and focus technique to get sharp close-ups with a phone.
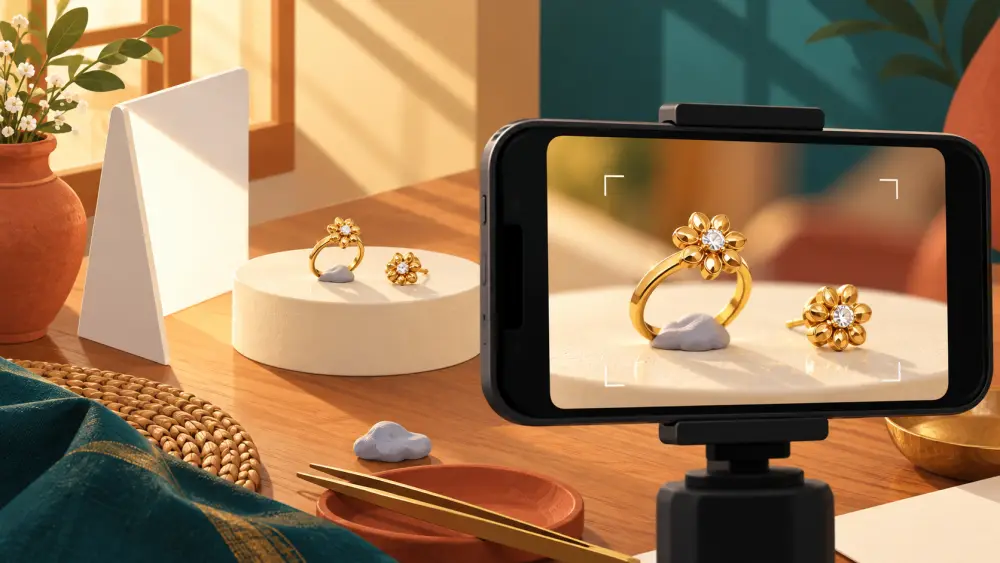
Earrings and rings are among the hardest products to photograph. They are small, reflective and fiddly, and a phone wants to focus on whatever is closest, which is often your thumb. The good news is that a few habits fix most problems without any special gear.
Hold the piece still, not your hand
The biggest cause of blurry jewellery photos is movement. Do not hold the piece in one hand and the phone in the other. Instead, rest the item on something stable and rest your elbows on the table when you shoot. If you have a small stand, a lid, or even a folded piece of cloth, use it to keep the item in place. A phone propped against a stack of books also works as a makeshift tripod, and you can tap the screen or use the volume button so the phone does not shake when you press the shutter.
Choose props that hold the piece, not compete with it
A display prop gives a ring or earring something to sit on or hang from. Good options are ones you already have: a plain ceramic dish, a small block of wood, a roll of fabric for a ring to rest in, or a piece of card with two slits cut in it so a pair of studs or hooks can sit upright. Keep colours plain. If the jewellery is gold toned, a neutral backdrop shows the metal better than a busy pattern.
- Pairs of earrings should be placed together, mirrored, so the buyer sees both sides of the pair.
- Rings look best at a slight angle, showing the face of the stone or design as well as the band.
- Keep the same prop for the whole collection so the catalogue looks matched.
Get close without losing focus
Phones struggle when you push the lens right up against a tiny object. Instead, move back a little and use the camera's zoom to fill the frame, then tap the screen on the part you want sharpest, usually the stone, the main motif or the clasp. If the screen shows the point of focus slipping, tap again. Take several shots of the same angle and keep the sharpest one rather than trusting the first.
Control reflections
Metal and stones pick up everything around them, including you. Wear a plain, dark top and stand so your shadow is not falling on the piece. Place the item near a window and, if the light feels harsh, put a thin white sheet or a sheet of plain paper between the window and the product to soften it. A white card on the side opposite the window bounces a little light back and lifts the shadows.
Show scale and wear
Close-ups show detail but hide size. Add one photo with the piece on a hand, ear or finger so a buyer can judge how big it really is. For earrings, a photo held near an ear or against a plain surface next to a familiar object helps. If you are unsure how to show size honestly, the guidance in how to show product size in photos covers it in more depth.
A simple shot list for jewellery
- A clean front view of the piece alone.
- A close detail of the stone, texture or clasp.
- A side view showing depth or height.
- One worn shot for scale.
This ties into the broader habits in photographing products on a phone, and if you are just starting, how to start selling handmade jewellery online helps you plan the catalogue around these shots.
Check at full size before you upload
Zoom in on every photo before you keep it. Dust, loose threads and fingerprints on metal show up clearly on a large screen even when they are invisible on the phone. Retake rather than hoping a buyer will not notice.