
A product photography checklist to run before you upload
A short checklist covering focus, crop, colour, clutter and shot list so you catch the common problems before customers see them.
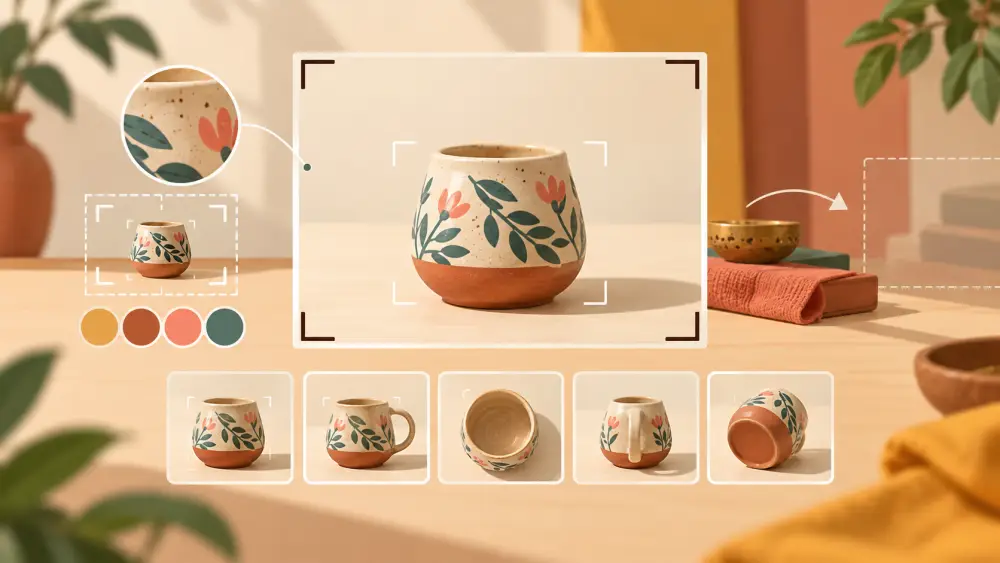
You have finished a shoot, the photos look fine on the phone screen, and you are tempted to upload them straight away. Pause for a few minutes. Most photo problems that frustrate customers are small and easy to catch: a soft focus, a cropped corner, a colour that is off. This checklist is meant to be run once per product, right before you add the images to your store. It cannot guarantee a perfect result, but it catches the usual slips.
1. Is it in focus where it matters?
Zoom in to full size on the main image. Check the edges, the label, the stitching or the texture. A photo that looks sharp at thumbnail size can be blurry when a customer zooms in. If it is soft, reshoot rather than sharpen, because editing cannot bring back lost detail. Tips on getting a sharper shot are in best phone camera settings for product photos.
2. Is the crop safe?
Look at all four edges. Nothing of the product should touch or run off the frame, unless it is a deliberate close-up. Leave a little breathing room, because your store and other places may crop images slightly differently. Check that the product is level and that horizons or table edges are straight.
3. Does the colour look like the real thing?
Hold the product next to your screen. If the photo shows a different shade, adjust it or reshoot in better light. Colour mismatch is a common reason customers feel a product was not as described. Read describing colour accurately online for how to word what the photo cannot show.
4. Is there clutter or distraction?
Scan the background for anything that should not be there: a stray cable, a corner of another product, a shadow of your own hand, dust on the surface. Look at the edges of the frame too. See avoiding fingerprints and dust for fixes.
5. Are the shadows reasonable?
Hard, dark shadows hide detail. If one side of the product is very dark, add a reflector or move the light. See avoiding harsh shadows.
6. Is the shot list complete?
Compare the images against your plan for that product. A typical set includes the main front image, other angles, a close-up of detail, and something showing scale or use. How many photos each product should have helps you decide what is enough. If you promise a feature in the description, make sure a photo shows it.
7. Is the order right?
The first image is the one customers see first. It should show the whole product clearly. Put details and extras after it. Our post on what the main product photo should show goes deeper.
8. Do the photos match each other?
Within one product, the images should share the same background, light and brightness. Across products, they should match your usual style. If you have written a photo style guide, compare against it now.
9. Are the files named and sized sensibly?
Give files names you can recognise later, such as the product name and angle. Very large originals can make uploads slow on a weak connection, so export a reasonable size if your phone produces huge files.
Make it a habit
Print this list or keep it in your notes. After a few products you will run through it almost without thinking. The point is not perfection, only that you do not publish something you would have fixed with one more look.