
How to avoid harsh shadows in product photos
Hard dark shadows come from small, close or direct light. Diffuse it, move it, fill it, and accept a soft shadow.
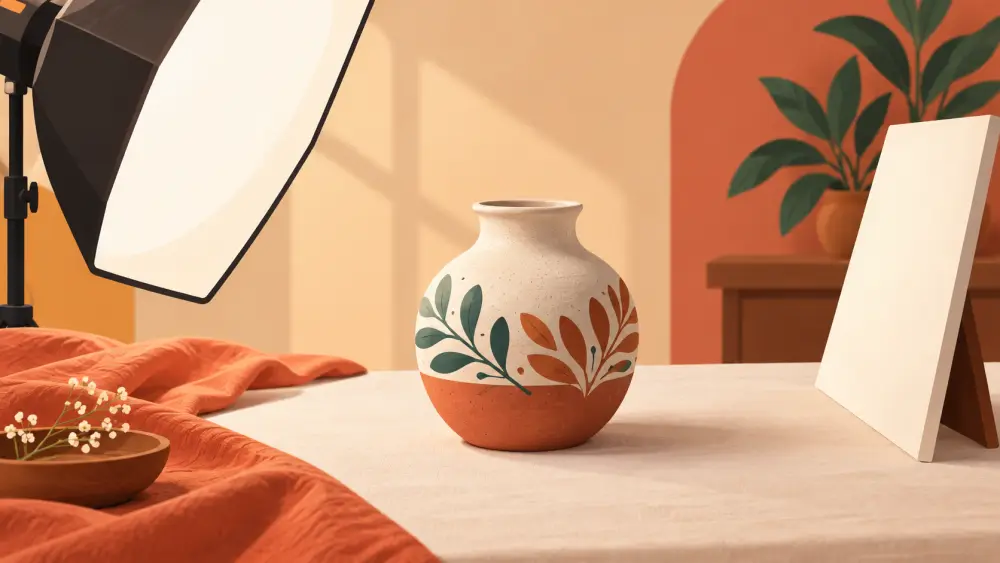
Harsh shadows make a product look cheap and hide detail. They have three common causes: light that is too small, light that is too direct, and nothing to fill the dark side. Each has a fix.
Understand where hard shadows come from
A shadow has a sharp edge when the light is small compared to the product, such as a bulb, a torch, a flash or direct sun. A shadow is soft when the light is large, such as a window, an overcast sky or light passing through a sheet.
So the general fix is to make your light effectively larger and gentler.
Fix 1: Diffuse the light
Put something thin and white between the light and the product. A white curtain over a window, a bedsheet, or tracing paper over a lamp spreads the light. Do not let the diffuser touch a hot bulb. See window light for product photography.
Fix 2: Change the distance
The closer a light is to the product, the larger it seems and the softer the shadow becomes. If you use a lamp, move it nearer, and use a diffuser in front. If you use a window, place the table near the glass.
Fix 3: Fill the dark side
Place a white card opposite the light to bounce light into the shadows. Details are in using a white card or foil as a reflector.
Fix 4: Lift the product off the background
A product sitting close to a wall casts a shadow on it. Moving the product further from the backdrop, or using a sweep that curves down to the table, reduces visible shadow lines. See making a white background at home.
Fix 5: Avoid on-camera flash
Flash comes from a tiny source right next to the lens. It produces flat, glaring light with hard shadows behind the product. Read whether to use the phone flash.
Fix 6: Check the angle
Light coming from directly in front of the product flattens it, and light from directly above can cast shadows down the front. Light from the side, at a gentle angle, gives gentle shadows that show shape.
You will not remove shadows completely
Some shadow is natural and useful. A soft shadow under a product tells the eye it sits on a surface. The aim is a soft, even shadow, not no shadow. Trying to remove all shadows can leave a product looking flat and pasted in.
A quick test routine
- Photograph the product in your normal setup.
- Add a diffuser and photograph again.
- Add a white card and photograph again.
- Compare all three at full size.
You will often find the second or third is clearly better. For the full routine, see taking product photos with only a phone.