
How to photograph brass and pooja items for your online store
Brass reflects everything around it. Here is a shot list and a lighting approach that shows the gleam and the engraving without misleading the buyer.
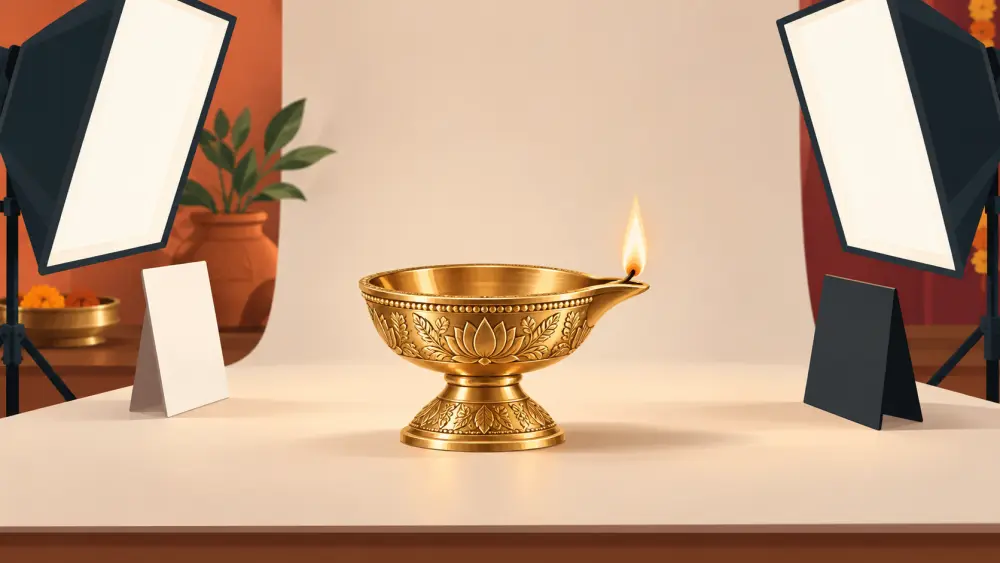
Brass is difficult to photograph. It is shiny and curved, so it picks up the room, the window and you holding the phone. A lamp or an idol can look dull in one shot and blown out in the next. The goal is a set of photos that shows the real finish, the shape and the fine detail.
Why warm light suits brass
Brass has a golden tone, and soft, warm-leaning light shows it naturally. Harsh white light flattens it, and a direct flash creates a hard white glare. Use a window with a thin curtain or a sheet over it, and place the item so the light comes from the side. See how to use window light for product photography. A warm lamp can add a gentle glow behind, but check that your phone's colours still look like the real piece, because colour can shift. Describing colour accurately online helps with the words.
Control reflections
Reflections are the main problem. Try this:
- Put the item on a plain, matte surface, such as cloth or paper, not glossy tile.
- Stand away from the item and use the phone's zoom rather than leaning in, so you do not show up in the surface.
- Wear a dark top, or hang a plain sheet behind you.
- Move the item slightly. A few centimetres changes where the reflection falls.
- Use a white card on one side, as in how to use a reflector with white chart paper, to soften dark patches.
The shot list
- Front, full item. The main listing image, with the whole piece in frame and its base visible.
- Side and back. Brass items are three-dimensional, so show every side.
- Top view. For a lamp, show the wick area and the oil holder.
- Engraving and detail close-up. Fine carving or lines are what buyers pay for. Take a macro shot with light skimming from the side, so the grooves show up as shadow.
- Scale shot. Place a hand or a familiar object beside the item. A brass lamp that looks big in a photo may be small in person.
- Base or underside. Many buyers check for a stable base or a maker mark.
- In use. A lamp lit, an idol on a pooja shelf. Keep the background simple and uncluttered.
Which angles to shoot for every product is a good checklist to pair with this one.
Show the real finish
Brass can be polished, antique or matt. Say which in the description and photograph that finish. Do not use heavy filters that make it look richer than it is. Mention that finish may look different under indoor lights and in daylight.
Do not over-clean in editing
It is fine to crop and adjust brightness slightly. Do not remove tool marks, casting lines or small variations that are part of a hand-finished piece. If you retouch the photo so the piece looks perfect, the customer may feel misled on arrival.
Add the text that photos cannot carry
A photo cannot show weight. State the weight and dimensions as described in how to write a product weight and dimensions section.
Upload in a sensible order
Main shot first, then side views, detail, scale and use. In the Varchas product editor, photos have a display order, so you can set the gallery the way you want shoppers to see it.
Good brass photos are patient photos. Soft light, controlled reflections and one clear detail shot will do more than any editing.