
How to use window light for product photography
Soft side light from a window is the cheapest studio you can have. How to place the product, tame the sun and read the light.
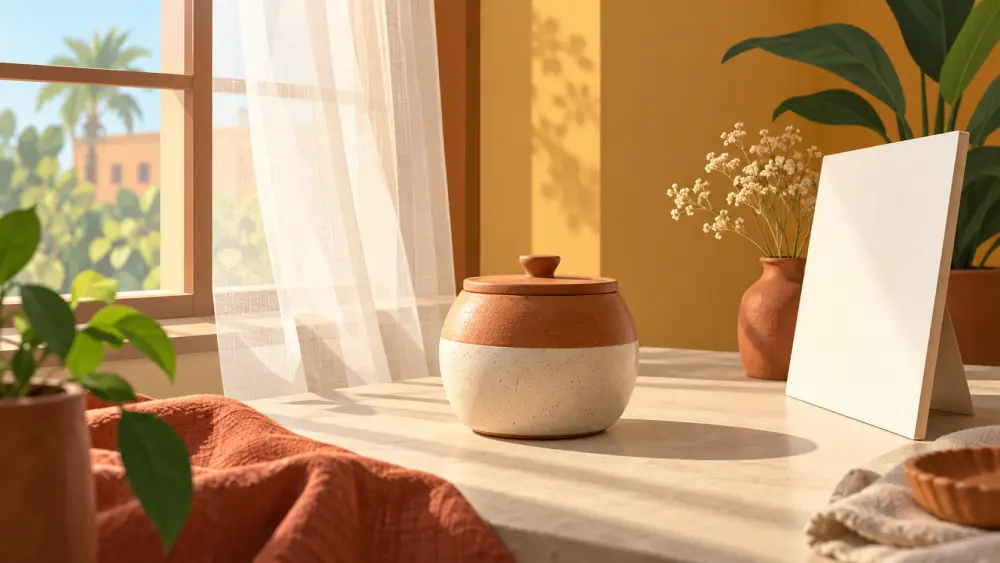
A large window is a soft light source, and soft light is exactly what most products need. It wraps gently around objects, shows texture and avoids the hard edges that make photos look amateur. The skill lies in placing things well and controlling the sun.
Why a window works
A window is big relative to your product. Big light sources produce gradual shadows, while small ones, like a bare bulb or a flash, produce sharp ones. That is the whole secret.
Place the product beside the window
Put your table beside the window, with the product a short distance from the glass. Light should reach it from the side, not from behind the camera and not from directly behind the product. Side light gives shape: you can see where the surface curves.
Try three positions and photograph each:
- Window on the left of the product
- Window on the right
- Window behind the product, shining towards the camera (useful for glass, see photographing bottles and jars)
Compare them on screen and keep the best.
Soften direct sun
If sunlight falls straight on the product, shadows will be dark and edges hard. Hang a thin white curtain, a bedsheet or tracing paper over the window. The sun is still the source, but now it passes through something large and soft.
Observe your own windows
Different windows give different light, and it changes through the day. A window that faces away from the sun may stay soft for hours. Another may be harsh in the afternoon and gentle in the morning. Instead of trusting a rule, spend a few days noticing when your chosen window looks best, and pick that period for shooting. Write it on a sticky note.
Switch off competing lights
Turn off ceiling lights and tube lights. They mix colours and make your photo look yellow or green. One light source gives natural-looking colour.
Fill the dark side
The side of the product away from the window will be darker. Hold a white card or sheet there to bounce some light back. This is covered in using a white card or foil as a reflector.
Keep consistent
If you shoot ten products on ten different days, the brightness and colour will drift. Try to shoot a batch in one session, in the same spot, with the same curtain position. Consistency makes a catalogue feel professional.
Check the colours
Cloudy and clear days produce different colour tones. View your photos next to the real product and adjust brightness slightly so the screen matches what the buyer will receive. This helps avoid disappointment and returns.
A bright window, a bedsheet and a table are enough for a clean catalogue. For the whole setup, see taking product photos with a phone and a window.