
How to take product photos with only a phone and a window
A step by step setup using daylight, a plain surface and a steady hand. No studio, no lights, no purchase needed.
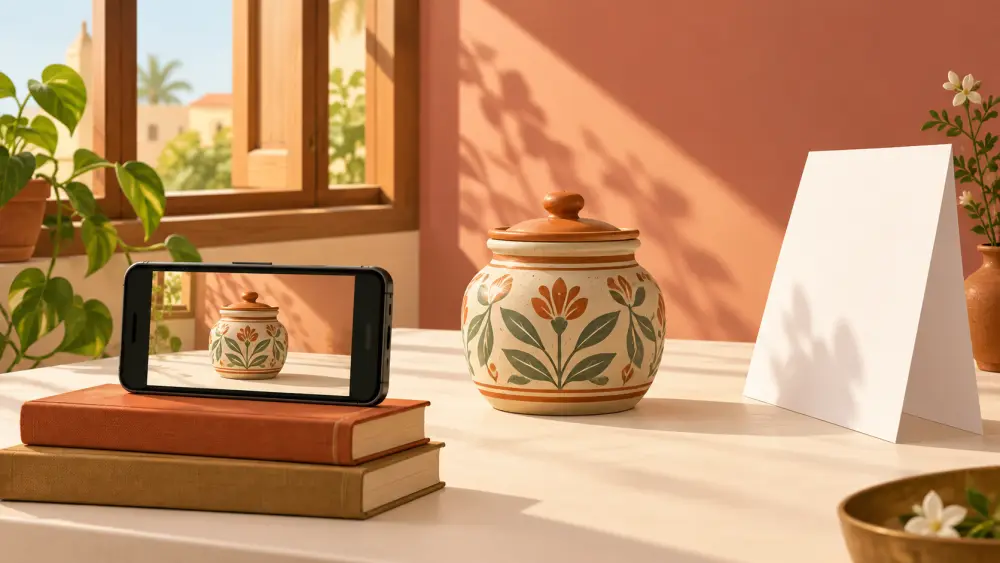
You can get clean, usable product photos with the phone you already own, a window and a plain surface. They will not match a professional studio, and they do not need to. They need to be clear, well lit and consistent. Here is a setup you can finish in twenty minutes.
Step 1: Clean everything
Wipe the phone lens with a soft cloth. A smudged lens is the most common reason for hazy, soft photos. Then dust the product and remove loose threads, fingerprints and price stickers.
Step 2: Find your window
Pick the window that gives bright light without direct sun hitting the product. Place a table next to it so the light falls on the product from the side. If the sun is strong, hang a thin white curtain or sheet over the glass to soften it. More detail is in using window light for product photography.
Step 3: Set a plain surface
Use a sheet of chart paper, a clean bedsheet or a plain tabletop as the background. Keep it free of patterns and creases. If you want a white look, see making a white background at home.
Step 4: Steady the phone
Rest your elbows on the table, or lean the phone on a stack of books. Camera shake is a bigger enemy than low light. If you have a stand, even better, as covered in keeping phone product photos sharp without a tripod.
Step 5: Use the camera well
- Tap the product on screen to focus.
- Slide the brightness slightly if the product looks too dark or too bright.
- Turn on the grid lines so the product sits straight.
- Do not use the digital zoom. Move closer or crop later. More in camera settings for product photos.
Step 6: Shoot a full set
Take the same set of shots for every product:
- Front, straight on
- Back or side
- A close-up of texture, stitching or detail
- A shot showing scale, such as in a hand or next to a familiar object
- One lifestyle shot if you can
Taking the same set each time makes your store look organised.
Step 7: Check and edit lightly
Look at the photos at full size on your screen. Reject any that are blurry or tilted. In editing, adjust only brightness and crop. Heavy filters change colours and cause returns when the product arrives looking different.
What to expect
Phone photos work well for most products when the light is good. Some items, such as shiny steel or glass, need more care and are covered in separate guides. Be realistic: the results will look honest and clean, not studio perfect, which suits a small brand fine.
For the broader view of what to photograph and why, the earlier post on photographing products on a phone is a good companion.