
How to use cheap LED lights for product photography at home
Set up two soft LED lights, diffuse them properly and avoid mixing light colours so your photos look consistent in any weather.
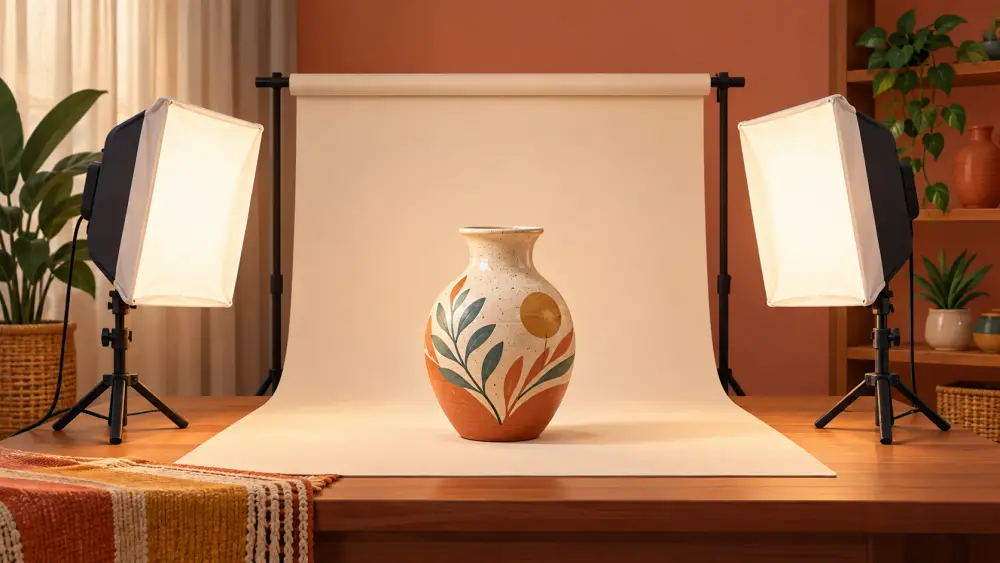
Window light is free, but it changes through the day and disappears in the evening. A pair of inexpensive LED lights gives you the same result every time. You do not need studio gear. You need two lights, something to soften them, and a few habits.
Why two lights
One light creates a bright side and a dark side. A second light, or a reflector, fills the dark side. For most small products, two lights placed on the left and right at roughly forty-five degrees to the product give even, flattering results. Place them slightly above the product and aim them down a little. If you only have one light, use a white chart paper reflector on the other side. See using a reflector.
Soften the light
A bare LED is small and harsh. It creates sharp shadows and bright reflections. Diffusion spreads the light and makes shadows gentle. Easy options:
- A thin white cloth or sheet stretched on a frame in front of each light.
- A sheet of white baking paper or tracing paper, held at a safe distance.
- Bouncing the light off a white wall or ceiling instead of pointing it at the product.
Keep any fabric or paper clear of hot surfaces. LEDs run cooler than old bulbs, but check by touch before leaving anything near them. The larger the diffused surface and the closer it is to the product, the softer the light. More on shadows is in avoiding harsh shadows.
Avoid mixed colour
This is the most common mistake. Lights come in different colour temperatures, from warm yellow to cool white. If one light is warm and the other cool, or if you leave a tube light and a window open at the same time, your product gets patches of different colour that are hard to fix later. Use two matching lights, switch off every other light in the room, and close curtains if daylight is leaking in. If you are unsure, take a test photo and see whether the white background looks even.
Set the white balance
On your phone camera, lock the exposure and white balance by tapping and holding on the product, if your camera app supports it. Photograph a plain white sheet under your lights and check that it looks white in the photo. Adjust in editing if needed. Read best phone camera settings for the basics.
Watch for reflections
Glossy items such as bottles, jars and polished jewellery will reflect the lights as bright patches. Move the lights further to the side, raise or lower them, or add more diffusion. For tricky surfaces, see photographing glossy or foil packaging.
Mark your positions
Once you find a setup you like, mark the floor or table with tape where each light stands and note the distance to the product. Next time you can rebuild the same look in minutes. Add these notes to your photo style guide.
Buying sensibly
Pick lights that are adjustable in brightness and have a stable stand. Check that the colour looks neutral and that the light does not flicker in your phone camera, which you can test by looking at the screen while moving the phone. Try before committing to a large purchase if you can, and do not assume a higher price or bigger number means better photos for your products.
Keep it simple
Two matched lights, soft diffusion, no other lights in the room. That is the whole recipe. Everything else is fine-tuning.