
How to photograph wooden toys for your online store
A shot plan for sellers of handmade wooden toys, with a scale shot using a child's hand and close-ups that show the finish and joinery.
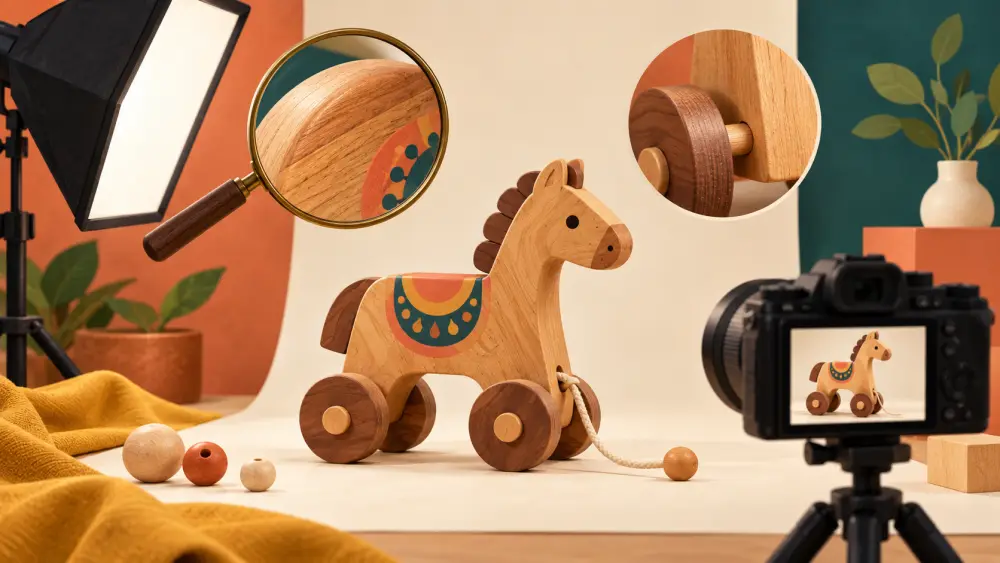
Parents buying a wooden toy want to answer three questions from the photos: how big is it, how well is it made, and is it safe for my child? A good set of pictures answers all three before they ever message you. Here is a simple plan you can follow with a phone and a window.
The scale shot comes first
Wooden toys are hard to judge from a plain picture. Is that train palm-sized or arm-length? Place the toy in a child's hand, or beside a familiar object such as a spoon or a pencil. If a child is in the photo, get the parent's permission and keep the face out of frame unless you are sure the family is comfortable with it. A hand alone gives plenty of scale. Photographing products for scale shows more ways to do it.
Core shot list
- A clean front view on a plain background, the main thumbnail.
- A three-quarter angle that shows depth.
- A close-up of the finish: grain, paint edges or smooth sanded surface.
- A shot of joints, pegs or moving parts.
- The toy in use, in a hand or on a floor with a child playing nearby.
- All pieces laid out if it is a set, with a count visible.
Show the finish honestly
Buyers care whether the wood is raw, oiled, waxed or painted. Photograph the actual surface close-up so the grain is visible, and use light that shows texture. Side light from a window brings out the wood without glare. Painted toys can reflect light, so tilt the toy slightly if highlights burn out. If your paint colours vary between batches, say so, and use describing colour accurately online for guidance. If you name a finish or coating, be sure you can back it up with what you actually used.
Pick backgrounds that flatter wood
Wood is warm toned. A white or very light grey background gives contrast, and a pale cloth or paper keeps things clean. A dark background can swallow darker woods. See what background colour works best for more options.
Light: soft and consistent
Set your table next to a window and turn off ceiling lights, which add an orange tint to wood. White chart paper opposite the window softens shadows. Take all photos for one product in one sitting, so the tone does not shift between images. Using window light walks through the setup.
Safety information belongs in the photo set
Show what a parent would check: smooth edges, rounded corners, no small loose parts. A picture of a corner or edge up close builds trust more than a claim in words. Do not state that a toy is safe for a particular age or meets a particular standard unless you have verified it with proper testing and certification. If you are unsure about age guidance or standards, ask a professional or the relevant official body before putting numbers on the listing.
Capture details a gift buyer wants
- The toy packed, ready to gift.
- Any name engraving or personalisation, shown on a sample.
- A flat-lay of all parts if assembly is needed.
Keep editing light
Brighten, crop evenly and correct the colour cast. Do not smooth out the grain or over-saturate paint colours, because the toy will arrive looking nothing like the picture and a child will not care about your filter.
Final check
- One scale shot.
- One finish close-up.
- One set layout if it is a set.
- Colours that match what ships.
Photograph with a parent's eye, and your toys will answer their questions before they ask.