
How to photograph school supplies for your online store
A shot plan for sellers of notebooks, pens, geometry boxes and stationery sets, built around a neat flat-lay of the full set on a desk.
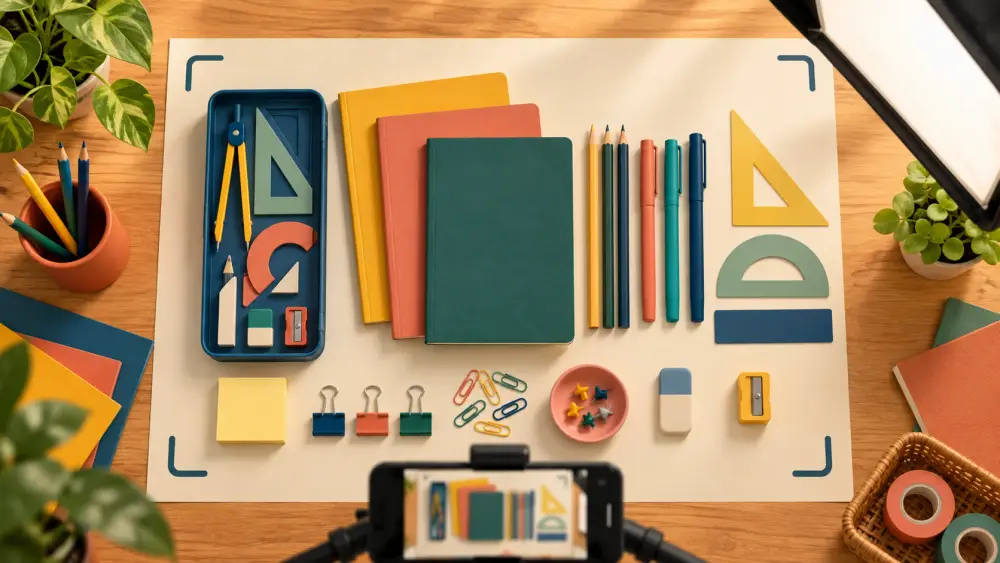
Parents and students buy school supplies with a checklist in hand. They want to see what is in the set, whether it matches the school's list and whether it looks neat enough to carry daily. Your photos should answer those questions quickly. The most useful picture is almost always a tidy flat-lay of everything the buyer will receive.
Start with the full-set flat-lay
Arrange every item in the set on a plain desk or sheet of paper and shoot from directly above. Align items in rows or in a gentle grid, with small even gaps. This one picture tells the buyer what they are paying for, and it becomes the main image for the listing. If the set includes twelve items, all twelve should be visible without overlap. Our guide to doing a flat-lay walks through the framing.
Add the supporting shots
- Individual close-ups of key items: the pen tip, the compass hinge, the notebook ruling.
- A closed-set shot in its pouch, box or bag, exactly as it will be delivered.
- A scale shot with a hand holding a pencil case or a notebook against a desk.
- A back cover or spine shot for notebooks, so page count and ruling type are visible if you state them.
- A "in use" shot on a study desk with a bag nearby.
Keep the background simple
A white, pale grey or light wood surface works for most school items, because colourful pens and covers stand out. Avoid patterned cloth that competes with printed covers. If your products are bright, a plain background makes them look more organised. What background colour works best has more guidance.
Light for flat-lays
Overhead shots catch shadows from your phone or body. Stand beside your table near a window so light comes from the side, and place white chart paper on the shadow side to fill it in. Turn off ceiling lights. Hold the phone parallel to the desk so rulers and notebook edges look straight, not slanted. If your lines look crooked, use the camera grid in your phone settings.
Show colours and variants honestly
School items often come in many colours or designs. Photograph each variant, not only one. A notebook cover in blue photographed under yellow indoor light may appear green. See describing colour accurately and product variants to keep the listing tidy.
Photograph what is included, and only that
If your flat-lay uses props, such as a plant or a mug, keep them clearly separate or leave them out, so a buyer does not think they are part of the set. If a pencil box contains eight items, show eight. A missing item is the quickest route to an unhappy message. Add a line in the description listing every component and its quantity. What details to put in every product description can help structure it.
Capture sizes
Notebooks, files and bags need dimensions. Photograph a ruler next to the product or put the measurements in the description. Check the weight and dimensions section post for a format.
Quick edit
Straighten the horizon, crop evenly and brighten slightly. Do not use filters that change the colour of covers and pens. Keep the same background for every product so your catalogue looks like one shop.
Checklist before upload
- Full-set flat-lay with every item visible.
- Packed shot as delivered.
- Scale shot.
- One image per colour or design.
- Component list written under the photo.
A neat flat-lay is the school supplies seller's best salesperson.