
How to photograph millets for your online store
Millets are small, beige and easy to make look boring. Here is the shot list that shows grain variety and how the grain looks on a plate.
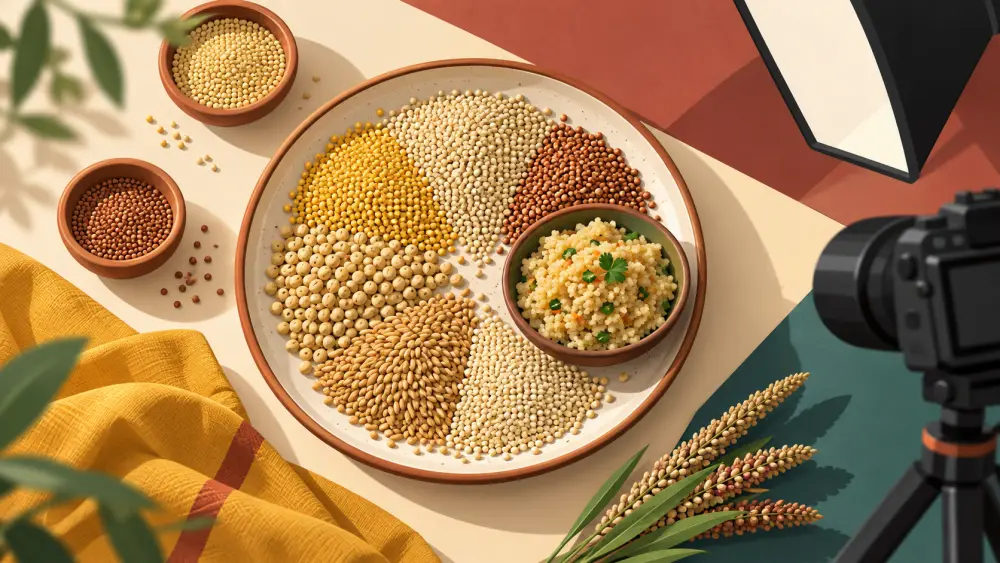
Foxtail, little, kodo, barnyard, pearl and finger millet all look similar in a pouch: small, pale and dry. A buyer scrolling a store cannot tell them apart unless your photos do the work. The good news is that millets need no fancy setup. They need a clear plan for which shots to take. Here is one you can finish in a single sitting with a phone.
The shots to plan
Aim for a set of five to seven images per product. For each millet, plan these:
- The pack, front on. Name, weight and label readable. This is the shot that identifies the product.
- The grain, close up. Pour a small heap onto a plain surface and shoot from above. Let the texture and size of the grain fill the frame.
- A spoon or scoop of grain. It gives a sense of quantity and grain size without a ruler.
- The cooked dish. This is the shot that sells. A bowl of cooked millet, a dosa, an upma or a porridge shows the buyer what the dry grain becomes.
- Grain next to dish. Place a small bowl of dry grain beside the cooked dish so the buyer links the two.
- Back of the pack. Ingredients, weight and any storage text, readable.
Show grain variety
If you sell several millets, take one comparison shot with each grain in a small bowl or on a plate, labelled in your listing text. Keep the bowls identical and the lighting the same so the only difference is the grain. Put this image in each listing so a buyer can see how the grains differ in size and colour without opening other pages.
Pick a plain background
Millets are pale, so a white background washes them out and a very dark one swallows the detail. A mid-tone surface such as a wooden board, a plain cloth or slate-coloured plate gives contrast. The guide to a DIY white background is useful for the pack shot, and a darker surface works for grain and dishes.
Light it simply
Shoot near a window in daylight and keep direct sun off the grain, which makes harsh highlights on each tiny seed. Put the dish or grain beside the window, not in front of it. See how to use window light for product photography for the setup, and a white card on the shaded side to soften shadows, as in how to use a reflector with white chart paper.
Make the cooked dish look honest
Cook it fresh and shoot quickly, while it looks its best. Use a simple plate and one or two props such as a spoon or a leaf. Do not use a dish that needs other ingredients you do not sell without saying so in the listing. If the photo shows a recipe with extras, write "serving suggestion" so the buyer knows the millet is what they receive.
Keep colour true
Edit lightly. Millets have subtle colour differences between types, and heavy filters can make one look like another. Compare your edited photo to the real grain in your hand. The post on describing colour accurately online explains why this matters.
Order of images in the listing
Put the pack first, the cooked dish second, the grain close-up third, then the variety shot and the back of the pack. Buyers who are new to millets respond to the dish first and read detail later.
Next step
Plan the shots, cook one dish, shoot in daylight and keep the colour honest. The Founding Offer covers the first 10 stores with setup done together, including listing photos. Get in touch at /early-access.