
How to photograph incense and dhoop for your online store
A shot list for incense and dhoop that shows the pack, the sticks and the smoke, using soft light and a phone.
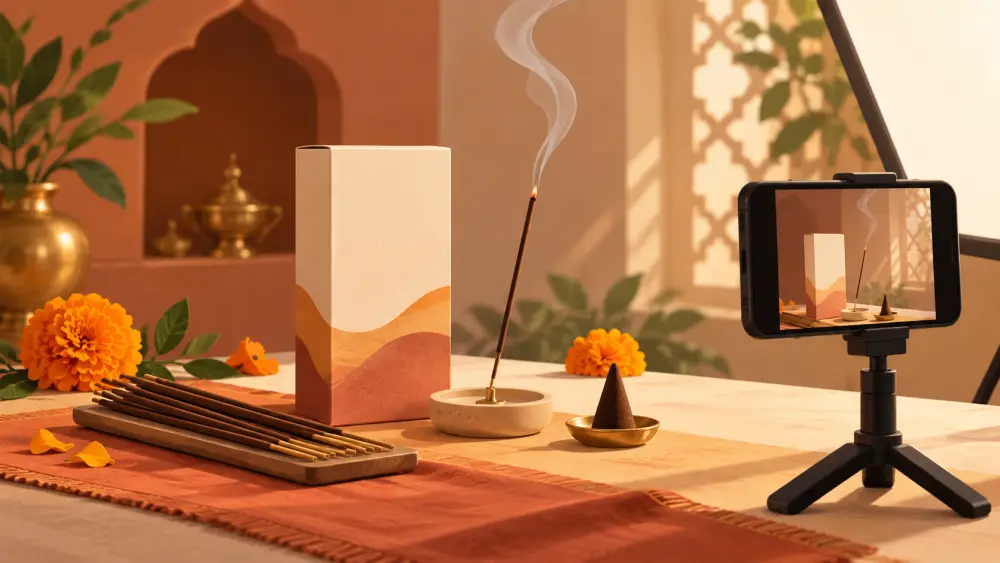
Incense is hard to sell through a screen, because the main thing a buyer wants, the scent, cannot be shown. So your photos have to do a different job: show what the product physically is, how it looks when used, and what is in the pack. Here is a shot list.
Shot 1: the pack, clean and front-facing
Start with the sealed pack on a plain surface, label facing the camera straight on. This is your main listing photo. Make sure the name, variant and any ingredient wording on the label are readable, and that the shot is not cropped at the edges. Natural window light from the side works well. See how to use window light for product photography for the setup.
Shot 2: the contents laid out
Open one pack and lay the sticks or cones neatly beside it. For dhoop, show the cones, cups or logs as they come. A buyer wants to know how many pieces they get and what they look like, so keep the arrangement tidy and count-friendly. Do not over-style it. If a pack has a fixed number of sticks, show roughly that quantity.
Shot 3: sticks burning in soft smoke
This is the photo most sellers want, and the easiest to get wrong. Light one stick, place it in a holder, and shoot with the pack beside it so the buyer sees the product and the effect in one frame.
Tips for smoke:
- Use a dark or plain background. Smoke shows up better against a darker, matte surface.
- Keep a window or lamp to the side, not behind the camera, so the smoke catches the light.
- Turn off fans and close the door. Moving air breaks the smoke into messy wisps.
- Take many photos. Smoke changes second to second, and only some frames look good.
- Focus on the burning tip or the pack, then check the picture before you move on.
A burning stick is the one case where a little styling is fine, but keep the pack in the frame. Do not edit smoke in or make it look thicker than it is.
Shot 4: the scale shot
Place the pack or a stick next to a familiar object, such as a small brass holder or your hand, so people understand the size. How to photograph products for scale covers this in more depth.
Shot 5: the label back
Photograph the back of the pack, with ingredients, burn guidance and net quantity if printed. Customers like to read before buying, and it saves you a question later.
Keep photos honest
If your product is hand-rolled, show a normal batch, not the best-looking stick. Do not use colours or lighting that make the product look different from what arrives. Photograph the scent type by naming it in the description, because the photo cannot.
Add it to the listing
Put the pack shot first, the contents second and the burning shot third. In the Varchas product editor you can add photos to a product, and a colour option can have its own set of photos, so a shopper switching between options sees the matching shots. See how many photos should each product have for how to decide on a total.
If you also sell candles or other scented home items, the approach in how to photograph candles and home decor overlaps with this one.
Good incense photos set honest expectations: what is in the pack, what it looks like in use, and where the scent description must come from words rather than pictures.