
How to photograph hand embroidery pieces for your online store
Embroidery sells on thread detail and the finished piece. Here are the shots that show both, from macro stitches to the full hooped piece.
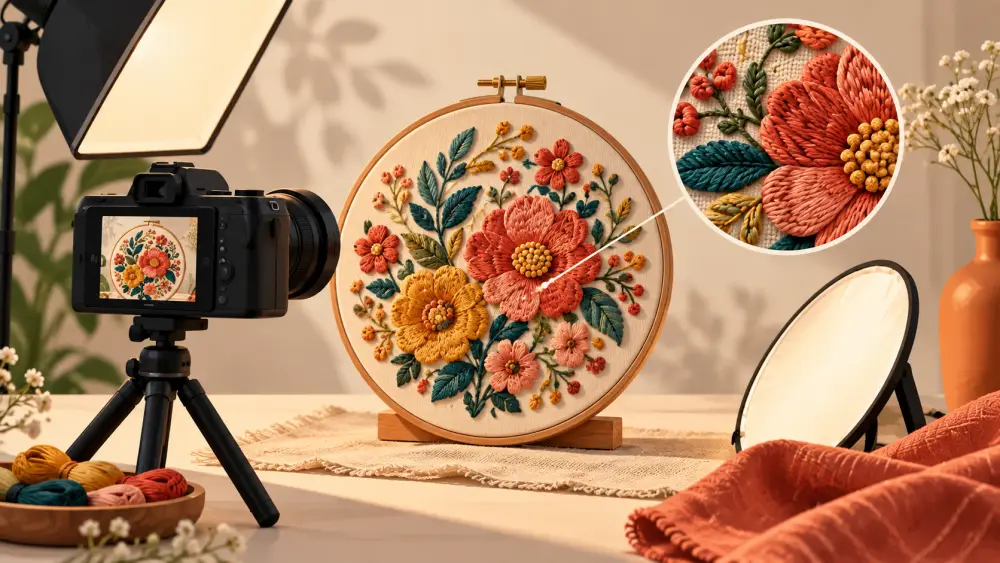
Hand embroidery takes hours, but on a screen it can look like a printed pattern. Your photos need to prove the work is stitched: the texture of the thread, the direction of the satin stitches, the neat back of the hoop. You also need to show the whole piece, since the buyer is judging design and size. Plan two kinds of shots, close and complete.
Shot 1: The whole piece, straight on
Place the piece flat or, if it is in a hoop, hang it against a plain wall. Shoot from straight in front with the phone parallel to the fabric so lines do not look slanted. Fill the frame, leaving a small margin. Press or steam fabric first; creases pull attention from the stitching.
Shot 2: The hooped version
If you sell framed or hooped pieces, show them as the buyer will receive them: hoop in view, fabric tight, hanging loop visible if there is one. Include the edge of the hoop so the size is clear. A shot of the hoop at a slight angle shows its depth.
Shot 3: Macro thread detail
Get close enough that individual stitches show. Look for an area with variety: a satin-stitch petal, a French knot, a bit of outline. This is the shot that justifies your price. Hold the phone steady or rest it on a stack of books, and tap the screen to focus on the thread. If your phone has a macro mode, use it; if not, step back a little and zoom after the shot instead of using digital zoom while shooting.
For more steady-hand and close-up tips, see how to photograph earrings and rings close-up, which uses the same ideas.
Shot 4: Light across the thread
Soft side light from a window makes thread catch highlights and shows texture. Flat front light hides it. Try the piece by a window at different angles and pick the one where the stitches look rounded. How to use window light for product photography explains how to set it up.
Shot 5: The back
A neat back builds trust in handwork. If your reverse side is tidy, show it. If it is not, tuck and cover it with a backing, then show that. Do not hide the backing from buyers; mention it in the description.
Shot 6: Scale
Put the piece next to a hand, a coin or a pen, or show it hung on a wall. Embroidery size is a common surprise. Add the dimensions in the description as well; see how to photograph products for scale.
Colour matters
Thread colours shift under bulb light. Shoot in daylight and check the screen against the real piece. Name the shades in your listing. Describing colour accurately online has useful pointers.
Store setup
Upload the straight-on photo as the main image and the macro, side-light, back and scale shots into the gallery of the product in your Varchas admin. The main image does the first selling, so choose the cleanest one.
Shot list
- Whole piece, straight on
- Hooped or framed view
- Macro of the thread
- Side-light texture
- Back
- Scale shot
Six photos is enough. Retake any that are blurry; macro shots forgive nothing.