
How to keep phone product photos sharp without a tripod
Blurry photos usually come from tiny hand movements, not a bad phone. Stable surfaces, the timer and a firm grip fix most of it.
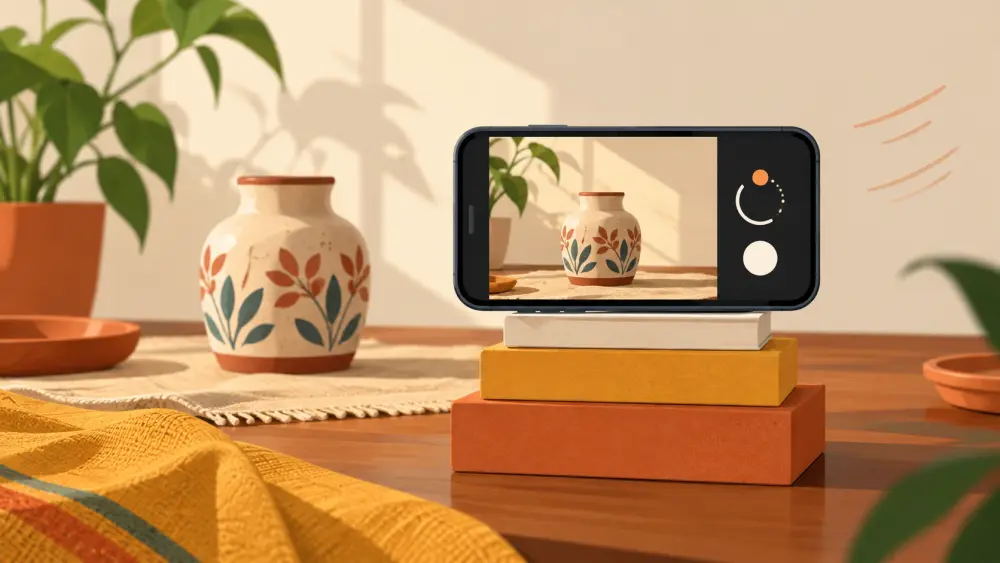
Most blurry product photos are not caused by the phone. They are caused by the small shake that happens when your finger taps the shutter. You can remove most of that shake without buying anything.
Give the phone something to rest on
The easiest trick is to stop holding the phone at all. Rest it against something solid. A stack of books, a steel water bottle, a shelf edge or a wall can all work. Lean the phone against the support and angle it by sliding a folded cloth or a small eraser under it. The goal is that nothing wobbles when you let go.
Think about the height too. If the product sits on a table, put the phone on something stacked to roughly the same level, so you are shooting straight on instead of looking down at an angle. If you need an overhead shot, you can rest the phone's edges across two stacks of books so the camera looks down through the gap. Check this is stable before you leave it hanging there.
Use the timer
Even if the phone is resting, pressing the on-screen shutter moves it. Set the camera timer to a short delay, two or three seconds on most phones, tap the shutter and take your hand away. The phone shoots after the shaking has stopped. Many phones also let you press a volume button as a shutter, but that can shake the phone too, so the timer is usually safer.
If you must hold it, hold it properly
Sometimes you cannot rest the phone, such as when you are shooting on a balcony. Use both hands. Hold the phone firmly, tuck your elbows against your body, and plant your feet apart. Breathe out slowly and press the shutter at the end of the breath. Take several shots rather than one, since at least one will usually be sharper than the others.
Tap to focus and watch the light
Blur is not always shake. The phone may have focused on the wrong thing. Tap the product on screen before every shot so the camera focuses on it. Also check the light. In dim light, phones use a longer exposure, which makes shake far more visible. Moving the product next to a window helps a lot, and using window light is the cheapest improvement you can make. Settings are discussed in best phone camera settings for product photos.
Check sharpness before you pack up
Do not judge a photo on the small screen right after you take it. Open it and zoom in to the product's label or edge. If the text looks soft, shoot again. Doing this check on the spot saves you from finding the problem when the props are put away and the light has gone.
Keep your setup repeatable
Once you find a stable arrangement that works, make a note of it. Mark where the phone sat and where the product sat, with a pencil on the paper or a piece of tape on the table. That way every product gets shot from the same position, which also helps your catalogue look consistent.
When a tripod starts to help
If you shoot many products every week, a tripod or stand makes the work faster and more consistent, and there is a separate guide on a cheap tripod or stand setup. But you do not need one to begin. A steady surface, the timer and a bit of patience will carry you a long way. For the full beginner workflow, see photographing products on a phone.