
How to photograph glass bottles and jars
Glass is clear, so it picks up everything behind and around it. Backlight, dark edges and spotless glass make the shape readable.
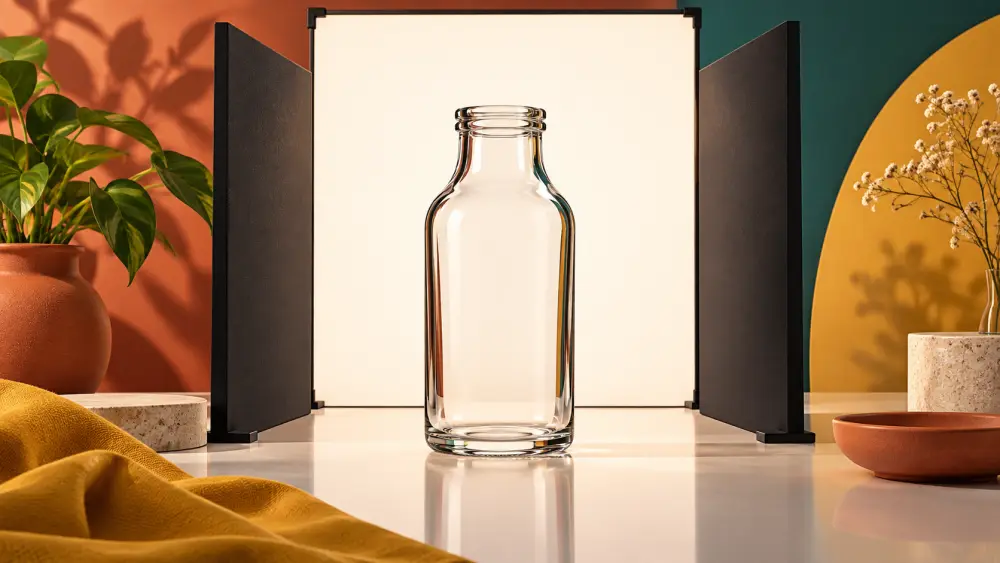
Glass is awkward because it has almost no colour of its own. It shows whatever sits behind it and bends whatever it reflects. A jar of pickle, honey or a bottle of oil or perfume needs to look clear and clean, with a readable shape. That takes some light placement, not expensive gear.
Do not expect it to be easy. Glass takes a few tries, and that is normal.
Start with spotless glass
Dust, fingerprints, smears and water spots are far more visible on glass than on anything else. Clean the outside with a soft lint-free cloth, and check the inside too if it is visible. Wipe just before shooting and handle the product by the lid or base. Keep a clean cloth nearby for touch-ups. The habits in avoiding fingerprints and dust apply doubly here.
Backlight to show the shape and contents
The most reliable way to make glass look good is to light it from behind and a little to the side, through a soft white surface.
- Stand the bottle on a table near a window or a lamp.
- Place a sheet of white paper or a thin white cloth behind the product, between it and the light, as a soft glowing panel.
- The glass picks up that glow, and the liquid or contents inside become visible and bright.
This works especially well for liquids, oils, honey, juices and anything you want to look translucent. Because the light comes through the product, the colour of the contents shows more truthfully, though screens and phones still change colour a little, so describe it honestly as in describing colour accurately online.
Use dark edges to define the outline
If the background is entirely bright, the edges of clear glass vanish. To keep the outline readable, place a strip of black card or dark cloth just outside the frame on each side, so the glass reflects a thin dark line along its edges. These dark edges are what make a clear bottle look like a solid object rather than a ghost. Try with the strips close and then further away, and watch how the lines change on screen.
Handle the label separately
A backlit bottle may leave the label dim. A label needs to be readable, since it is the thing buyers look at. Shoot a second photo lit from the front with soft window light for the label, and use a reflector to fill shadows, as in using a white chart paper reflector. Combine the two images in your listing rather than trying to make one picture do everything. If the product is food, photographing packaged snacks and pickles has more on labels.
Watch for reflections and distortion
Stand to the side so your own reflection does not appear. Wear dark clothes if you need to be close. Round jars can bend the background into odd shapes, so keep the background plain and clean, since patterns get distorted by the glass.
Add a size cue
Glass products look similar in photos, so buyers rely on size information. State the capacity and height in the description, measured by you, and include a photo with a familiar object or a hand beside it. Photographing products for scale shows how.
Check before you finish
Zoom in to each photo. Look for smudges, dust specks inside the jar, hot white patches on the shoulder, and any stray reflection of the room. If one jar needs several tries, that is fine, and you can take the best shot as your main photo. For general guidance on reflections, see photographing shiny and reflective products.