
How to photograph resin art for your online store
Resin pieces are all about depth, clarity and how light moves through them. Here are the shots to plan so a buyer can feel that from a screen.
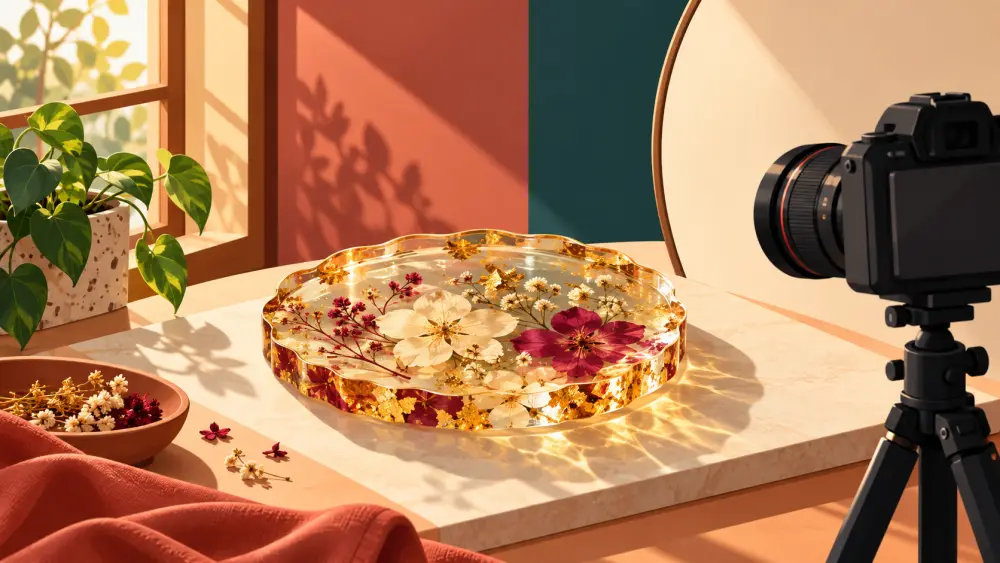
Resin art is hard to sell from a photo because its best qualities, the depth, the clear layers, the way light plays across it, are exactly what a flat picture flattens. A tray, coaster or wall piece that looks glowing in your hand can look like a plain coloured square on screen. The fix is not a better camera. It is planning a small set of shots, each with one job.
Shot 1: The full piece, straight on
Start with the piece fully in frame, shot from directly in front, so the buyer sees shape, edges and colour layout. Keep the background plain; a matte sheet or chart paper works. If you are new to this, how to make a DIY white background covers a cheap setup.
Shot 2: A tilted angle for depth
Tilt the piece or move your phone slightly to one side. Now the thickness and the layers show. This is the shot that tells the buyer resin is not paint on a flat surface. Take one from the left and one from the right; the glow shifts and that shift is a selling point.
Shot 3: Light passing through
If the piece has translucent sections, hold it near a window so light comes through, or place it a few centimetres above a light surface. The goal is to show clarity. Keep the light soft; direct sun creates hot spots. How to use window light for product photography explains the basics.
Shot 4: A close-up of detail
Move in on the most interesting area: a cell pattern, glitter, a dried flower, a gold edge. Wipe the surface first. Resin shows every fingerprint and speck, so see how to avoid fingerprints and dust in product photos. Lightly use a soft cloth before each shot, then check the screen at full zoom.
Shot 5: Managing reflections
Glossy surfaces mirror whatever is near them, including you and your phone. Stand to the side, switch off ceiling lights that create bright blobs, and hang a plain cloth behind you if a window is reflecting. Move the piece a little until the reflection becomes a soft gradient instead of a hard white patch.
Shot 6: Scale and use
Show the piece in a real setting or next to a hand or a common object so the buyer understands size. For a coaster, put a cup on it; for a wall piece, photograph it on a wall. Write the dimensions in the description too.
Be honest about what the camera cannot show
Photos will not match a piece in the hand exactly. Say so, and mention if each piece is slightly different because resin is poured by hand. Describe colours in plain words, as in describing colour accurately online. Avoid editing saturation up to make colours look richer than they are; it sets the buyer up for disappointment.
Shoot the whole set the same way
Use the same background and light across your products so your store looks consistent. In the Varchas admin each product has an image plus a gallery, so you can upload the straight shot as the main image and the tilted, light-through and detail shots in the gallery.
Quick shot list
- Straight on, full piece
- Tilted from each side
- Light passing through
- Detail close-up
- Scale or in-use shot
Five or six clean photos are enough. If a shot shows glare or fingerprints, retake it instead of fixing it later.