
How to photograph homemade cakes and bakes for your online store
A shot list for home bakers who sell cakes, brownies and cookies online, built around the cut slice, clean crumb and soft light.
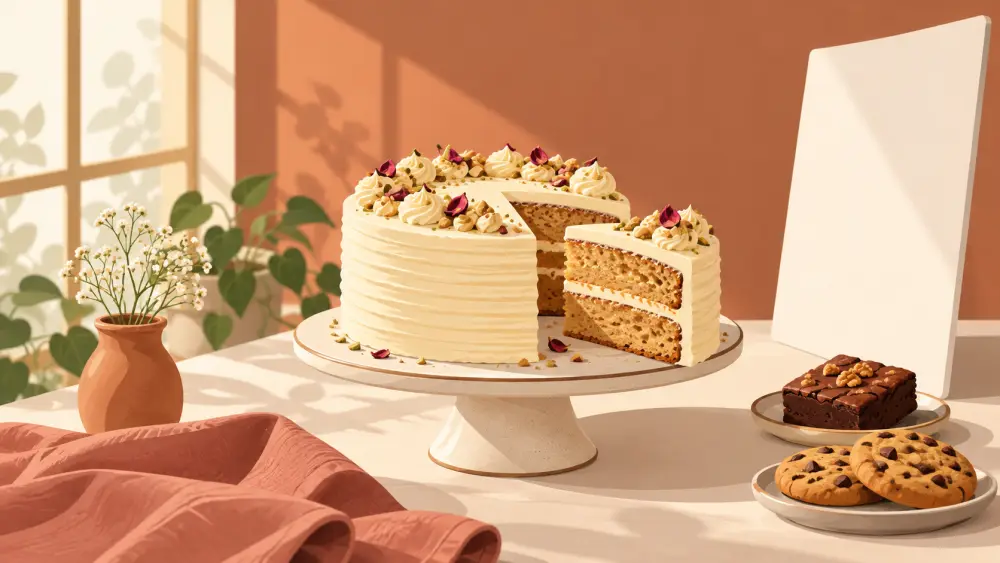
A cake is judged by the eye before it is judged by the tongue. For a home baker selling online, the photo has to do the job of the display counter, the smell and the first bite. You do not need a studio. You need a plan for which shots to take and a little patience with light.
Plan the shots before you bake
Decide the shot list first, because a cake only looks its best for a short while. Frosting softens, cut edges dry out and whipped cream slumps. Bake one extra small cake or a few extra cupcakes just for photography, and keep everything else ready before you unbox it: plate, knife, background, props.
A good set for each product:
- The whole cake from slightly above, so the top decoration and sides are both visible.
- A straight-on side view that shows layers, height and the frosting finish.
- One cut slice on a plate, turned so the cross-section faces the camera.
- A close-up of the crumb or filling, which is what makes people hungry.
- A hand-held or packed shot so buyers can judge size.
The cut slice is your best picture
Customers want proof that the inside matches the outside. Cut with a long knife, wipe it clean between cuts and use one smooth motion. A clean edge shows moist crumb, even layers and filling that stays where it should. If the first slice tears, take a second cut from the other side. Chilling the cake for a short while before cutting often gives a neater edge, especially for cream and ganache cakes.
Lift the slice with a flat server, not a fork, and place it so the tip points toward the camera or sits at a slight angle. A single crumb on the plate looks natural; a smeared mess does not.
Light: soft, from the side
Shoot near a window with the cake turned so the light comes from the side or slightly behind. Side light reveals texture in frosting and crumb. Harsh midday sun creates glare on glossy ganache and washes out colour. If shadows feel too dark, hold a sheet of white chart paper opposite the window. Our post on using window light for product photography walks through this setup, and the reflector with white chart paper post covers the cheap fill trick.
Avoid the yellow glow of kitchen bulbs. Turn them off while you shoot, or the cake will look orange.
Keep the background quiet
A plain plate on a light wooden board or a neutral cloth lets the cake do the talking. One or two props at most: a fork, a few berries, a napkin. If the prop is not in the box, it should not look like it is. That matters because buyers will feel cheated if the listing shows a flower arrangement they did not receive. See how to choose props for product photos for more on staying honest.
Show size and flavour variants
A cake photographed alone has no scale. Put a hand, a knife or a standard plate in at least one picture. If you offer several flavours, shoot each one, because a chocolate cake photographed as a stand-in for a vanilla one invites complaints. If sizes are priced differently, state weight or serves in the description rather than leaving it to the picture. The weight and dimensions section post shows a clean format.
Edit lightly
Brighten a little, correct the colour if the white balance is warm, and crop consistently. Do not push saturation until the strawberries look neon, because the customer will compare the real cake to your photo the moment it arrives.
Before you upload
- Does every flavour have its own picture?
- Is there one cut-slice shot and one scale shot?
- Are the colours close to what the customer will see?
- Is the first image clean enough to stand alone in a grid?
Good cake photography is mostly preparation. Plan the shots, cut cleanly, use soft side light and show size honestly, and the listing will sell the bake before the customer ever tastes it.