
How to make a size chart for your clothing store
Measure your own garments laid flat, record the numbers, and label whether you show body or garment measurements, so buyers can pick the right size with confidence.
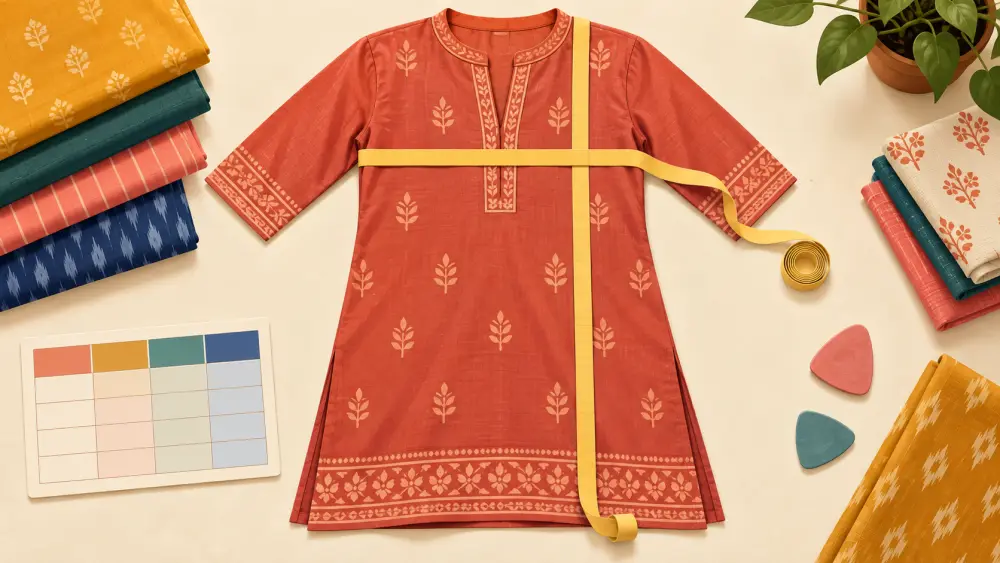
When a customer cannot try a garment on, the size chart is the fitting room. A vague "S, M, L" tells them almost nothing, because every brand and every maker cuts a little differently. A chart built from real measurements of your own garments removes the guessing. Here is how to make one from scratch with a tape and a flat table.
Why you should not copy a generic chart
There is no single size standard that every seller follows. A medium from one maker may be quite different from your medium. If you copy a chart from a supplier or another shop, it may not match what you actually sell, and buyers will find that out when the parcel arrives. Always measure your own garments.
What you need
- A soft measuring tape
- A flat, clean table or bed
- A notebook or phone to note numbers
- One garment per size, ideally the actual stock you will ship
If you buy from a supplier, measure a sample of each size from the batch you received. If you stitch yourself, measure the finished garment, not the paper pattern, because stitching changes the final size.
Step 1: lay the garment flat
Smooth out wrinkles and lay the garment on the table without stretching it. Button or zip it up. Measure flat, and decide in advance whether you are noting the flat width, or doubling it to get the full circumference. Pick one method and use it for every size so the chart stays consistent. Our post on how to measure a garment correctly for your size chart walks through each measuring point.
Step 2: choose the measurements that matter
Which numbers you list depends on the garment. Common ones:
- For tops and kurtas: chest or bust, length, shoulder, sleeve length
- For bottoms: waist, hip, inseam or length, thigh
- For dresses: bust, waist, hip, length
- For kids' wear: chest, length, and age or height guidance from your own experience
List only what helps buyers decide. Too many columns confuse people.
Step 3: record every size
Measure every size you sell, not just the medium. Write the numbers into a simple grid with sizes down the side and measurements across the top. Use centimetres or inches, but be consistent, or give both. Indian buyers use both, so offering both is friendly.
Step 4: label what you are showing
This is the step many sellers skip. State clearly whether the numbers are garment measurements, which are the size of the clothing itself, or body measurements, which are the size of the person it is meant to fit. They are not the same, and mixing them causes wrong orders. Read body measurements vs garment measurements in a size chart for the difference. Many small sellers show garment measurements because they can measure those with certainty.
Step 5: add a note on fit
A number does not describe fit. Add a short line such as "Relaxed fit, size up if you prefer it loose" or "Slim fit, choose your usual size or one up". Base this on how your garment actually sits, ideally after trying it on a person. Also mention the fabric's stretch, if any. See describing material and fabric honestly.
Step 6: tell buyers how to measure themselves
Add two or three lines: measure a similar garment that fits you well and compare it to your chart. Garment measurements are easiest to match this way, since the buyer can lay their favourite shirt flat and compare. That is more reliable than guessing from a body measurement.
Step 7: present it clearly
Put the chart in the product page as text, and also as a clean image for mobile. See how to design a clear size chart image for mobile screens for tips. Text is easier to read aloud and to copy, while an image is easier to see at a glance. Having both helps.
Step 8: update when stock changes
If you change suppliers or reorder, measure again. Batches can differ. A chart that was correct last season may not match the new stock.