
How to photograph clothing without a model
Flat lays, hangers and ghost-style set-ups let you show garments clearly with nothing but a wall, a table and a phone.
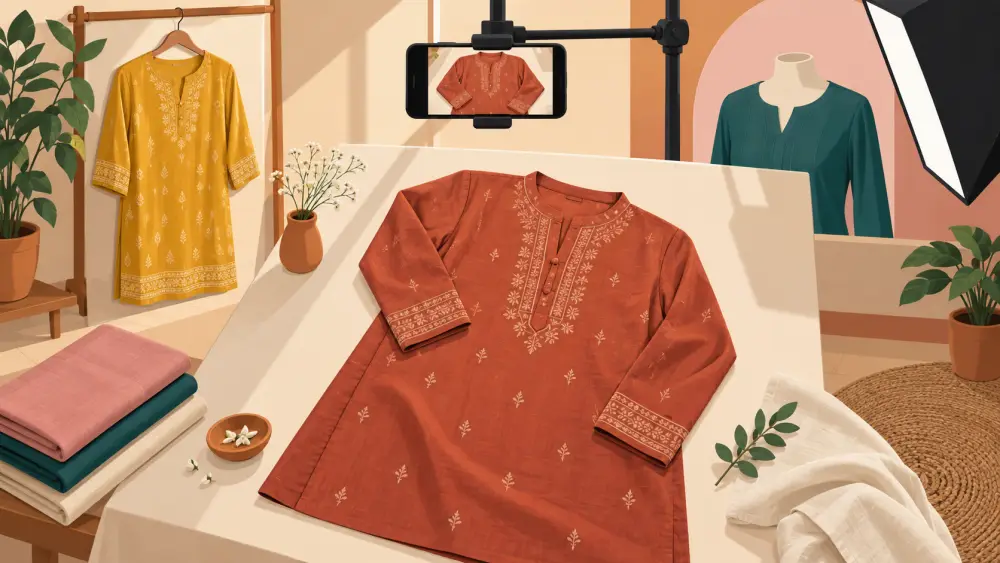
Not every seller has a model, a mannequin or a friend willing to pose. You can still photograph clothing well. There are three common set-ups, and each has strengths and limits. None is guaranteed to sell better than another, so choose by what suits your garments and your space.
Option 1: the flat lay
Lay the garment flat on a clean, plain surface, such as a bedsheet, a large sheet of paper or a clean floor near a window, and photograph it from above.
Good for: t-shirts, kurtis, dupattas, scarves, kidswear, and anything that sits flat without much structure.
How to do it: - Iron or steam the garment first. Wrinkles are very visible in a flat lay. - Smooth it out and straighten the seams, collar and sleeves. Fold the sleeves in naturally, rather than stretching them. - Shoot straight down so the garment is not distorted. A step-by-step is in how to do a flat lay product photo.
Limits: Flat garments do not show how they fall or fit on a body.
Option 2: the hanger or hook
Hang the garment on a plain hanger against a clean wall, door or a hung sheet, and photograph it from the front.
Good for: shirts, jackets, dresses and tops that hold their shape when hanging.
How to do it: - Use a hanger that fits the garment properly, so the shoulders sit correctly. - Hang it against a plain background and keep out of the way of shadows. Window light from the side shows folds and texture without a harsh shadow. - Pull the hem and sleeves into shape, and clip any loose parts neatly behind.
Limits: Hanging shows the garment with gravity, so a limp fabric may look limp. That is honest, but check that it is how you want to present it.
Option 3: ghost style
Ghost style (also called invisible mannequin) makes the garment look filled out, as if worn by someone invisible. You can do a simple version by stuffing the garment lightly with tissue or paper so it holds a body-like shape, hanging or propping it, and photographing it from the front. Some sellers also shoot the inside neck and combine photos in an editing app. This is more work, and you only need it if you want that look.
Good for: shirts, kurtas and tops where shape matters.
Limits: It can look odd if the stuffing shows, so keep it subtle, and it takes practice.
Light, background and consistency
Whatever you choose, use soft, even light. Window light is perfect, and a white reflector cuts shadows. Use one background style across your catalogue. A plain light surface works well, as in what background colour works best.
Pick one method for each type of garment and stay with it, so your catalogue looks consistent.
Add the details that a model usually gives
A model shows size and fall. Without one, you must provide that information another way: - Close-ups of fabric, stitching, buttons and print. - Measurements taken on the actual garment, such as chest, length and shoulder, written clearly in the description. - A photo with something for scale, as in photographing products for scale.
If you can later arrange a model or a friend, photographing products on a friend is a useful addition. But a clear flat lay with honest measurements is often perfectly enough to start.