
How to photograph tote bags for your online store
Plan a short shot list for tote bags, from the bag worn on a shoulder to a flat lay that shows the print detail, handles and inside.
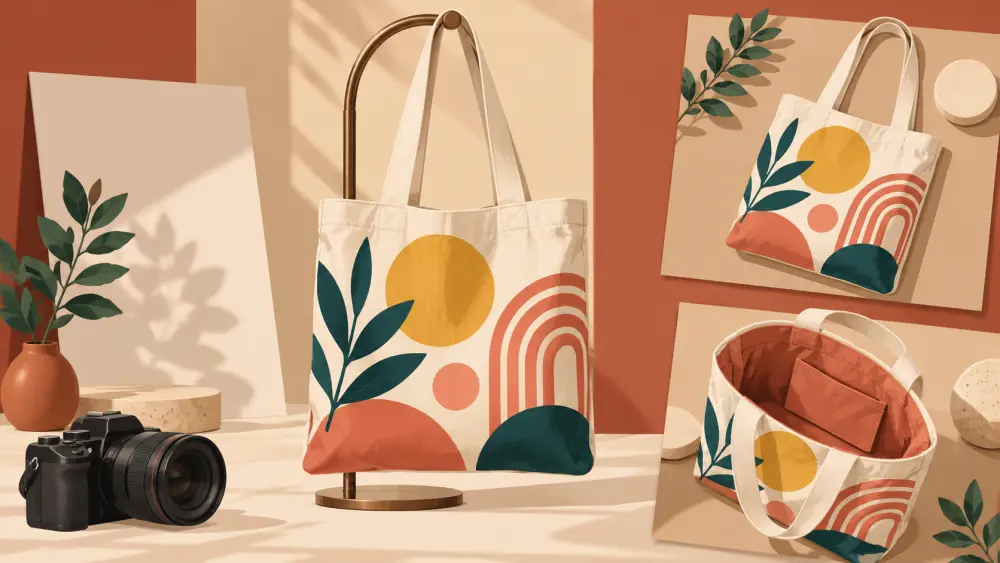
A tote bag looks simple, but buyers have many questions. How big is it? Does it have a zip? Is the print sharp? Does it hold a laptop? Your photos should answer these before anyone has to ask. Here is a shot list that works for plain, printed and embroidered totes alike.
Shot one: the bag laid flat
Lay the bag on a clean, flat surface and shoot from directly above. Smooth out creases with your hands, straighten the handles so they sit neatly on each side, and keep the whole bag inside the frame. This is your main image because it shows the true shape and the full print.
A tip: totes tend to slump. If the bag looks floppy, slip a folded sheet of card or a few sheets of paper inside to give the body some shape, then remove the support from view before shooting.
Shot two: the print or design close-up
If the bag has a print, quote, embroidery or patch, move closer and capture it sharply. Hold the phone steady and tap on the design to focus. Place the bag so light falls evenly on the print, because shadows from the folds can make colours look muddy. For fabric detail, read how to show fabric texture in photos.
Shot three: worn on a shoulder
A bag on a person tells the buyer the real size. Ask a friend or family member to carry the tote on one shoulder, with the bag hanging naturally. Frame from the shoulders down so the focus stays on the bag, and keep the clothing plain so it does not fight with the print. See photographing products on a friend as model for a few easy tips.
Take a second version with the bag held in the hand or at the crook of the elbow, which shows how long the handles are.
Shot four: the inside
Open the bag and show the lining, any inner pocket, a zip or a snap button. If there is none, a photo of the plain inside still helps, because buyers wonder about this. Shoot the open top from a slight angle so the depth is visible.
Shot five: size with a familiar object
Place a notebook, a water bottle or a laptop beside or inside the bag. Mention the size in the description too, with height, width, and handle drop in centimetres. Keep the object plain and say exactly what it is in the caption or description so the buyer can compare.
Shot six: handle and stitching detail
Handles are where tote bags fail, so show them. A close-up of how the handle joins the body tells buyers about the build quality. Say what the bag is made of and be specific about it. If you are unsure how to word that, see describing material and fabric honestly.
Colour and light
Photograph near a window in daytime, without direct sun. Colour on cotton or canvas can shift with the light, so compare your photo to the real bag and adjust before uploading. If you sell several colours, use the same background, same angle and same light for each so they look like a set. You can read more in how to photograph bags and wallets.
Your shot list at a glance
- Flat lay of the full bag
- Print or design close-up
- Worn on the shoulder
- Held by the handle
- Inside view
- Size with a familiar object
- Handle and stitching close-up
Seven photos may seem like a lot, but the bag is a bigger product than a bookmark and buyers have more doubts. If you only have time for four, take the flat lay, the print detail, the worn shot and the size reference.
One last check
View each photo at phone size before uploading. If the print is readable, the shape is clear and the colour matches the bag on your table, you are ready to list.