
How to photograph bookmarks for your online store
A shot list for bookmark sellers, from a clean flat shot of each design to a bookmark tucked into an open book so buyers understand size and use at a glance.
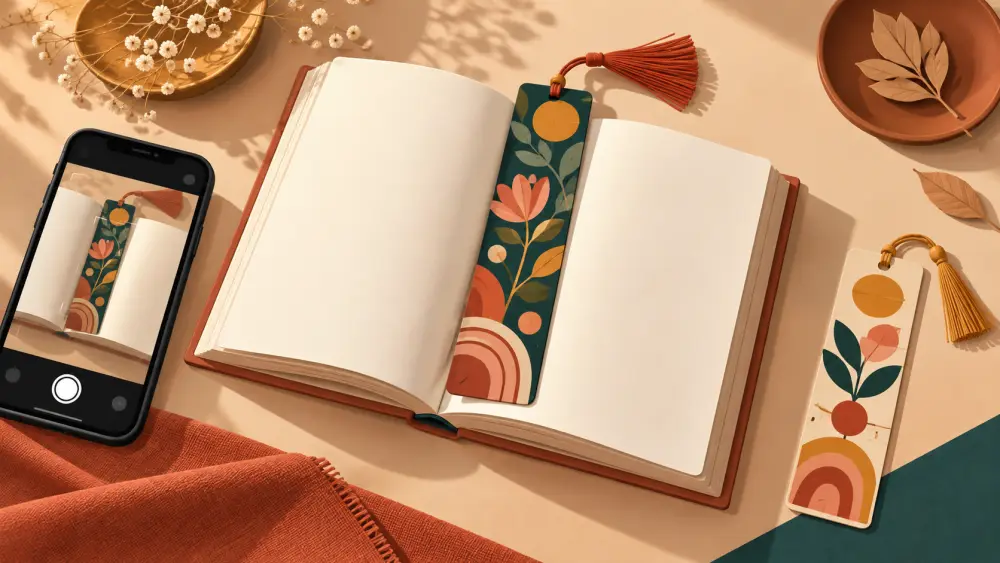
A bookmark is a tiny product with a big job: it has to look lovely and also make sense in a second. A buyer scrolling on a phone cannot feel the paper or measure the length, so your photos must do that work. Here is a simple shot list you can finish in one afternoon.
Start with the flat, honest shot
Every bookmark needs one clear photo on a plain surface, shot from straight above. Use a white or soft neutral sheet of paper as the background, and place the bookmark so the whole design, tassel and corners included, is inside the frame.
- Keep the phone parallel to the table so the edges stay straight.
- Leave a little empty space around the bookmark so it can be cropped square or portrait later.
- Wipe the surface first. Tiny threads and dust show up badly on dark prints.
This is the shot the buyer will trust, so make it the first image in the listing.
The bookmark tucked into an open book
This is the shot that explains the product. Open a book near the middle, slide the bookmark in so the top third sticks out above the pages, and photograph it from a slight angle. Now the buyer instantly sees the length, the width relative to a real page, and how it behaves in use.
Some tips for this shot:
- Pick a book with plain, light pages so the bookmark stays the hero.
- Let the tassel or ribbon hang over the page edge, because that detail is easy to miss otherwise.
- Do not cover the printed design with your fingers or with a second prop.
- Choose a book you are happy to show. A cover that looks cluttered pulls the eye away from your product.
If your bookmarks are magnetic, metal or dried-flower styles, show the same idea: the bookmark doing its job on a page.
A scale shot with something familiar
Not everyone reads the stated size in the description. A photo beside a pen or a coin, together with the measurement written in centimetres, removes guesswork. Keep the object plain and place it parallel to the bookmark.
Close-ups of the detail
Print finish and material are what separate a Rs 20 bookmark from a Rs 200 one. Take one close photo of the corner, the tassel knot, the lamination edge or the texture of the paper. Hold the phone steady and tap to focus on the detail. If your bookmarks are handmade, this is the shot that shows the care.
Light and colour
Natural window light works best. Place the setup beside a window in the daytime and avoid direct sun, which causes glare on laminated bookmarks. If the shine is a problem, turn the bookmark slightly until the reflection slides off the design. For more on this, read how to use window light for product photography.
Check colours against the real bookmark before you upload. If the photo looks warmer or cooler than the paper in your hand, fix it before listing. You can read how to fix white balance in product photos for a simple method.
Sets and bundles
If you sell sets of five or ten, shoot the full set fanned out or in a neat row, plus one photo of a single piece. Buyers should be able to count what they are getting. Mention the count in the first line of the listing as well, not only in the picture.
A suggested shot order
- Flat front view of one bookmark
- Bookmark in an open book
- Back of the bookmark, if it has a design or message
- Close-up of material or tassel
- Size reference with a pen
- Full set or bundle, if you sell one
That is six photos, and every one answers a question the buyer would otherwise message you about. If you are unsure how many to include per product, see how many photos should each product have.