
How to pack DIY craft kits so they reach the customer safely
A kit is only as good as its last missing piece. Pack in labelled compartments, check a list before sealing and keep small parts from escaping.
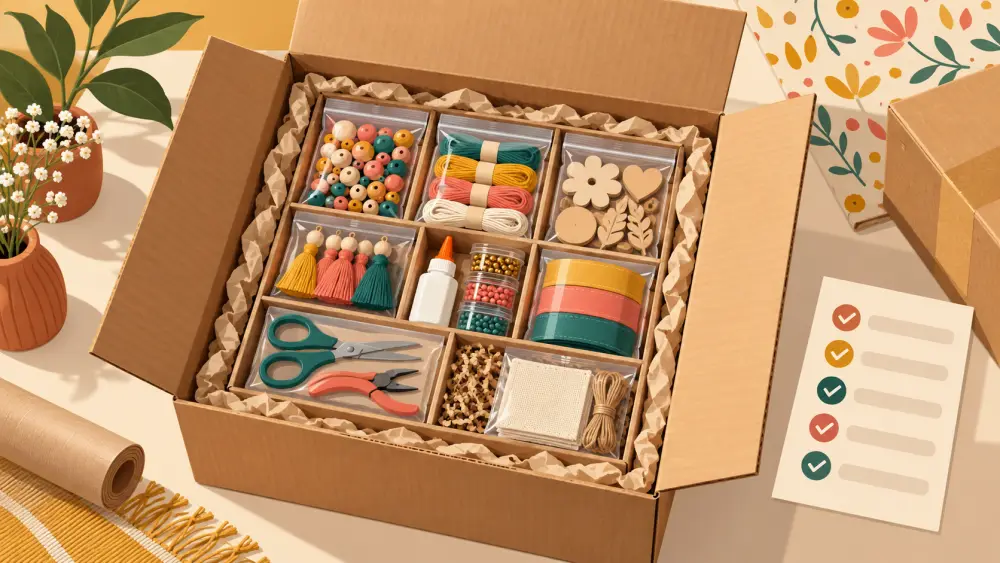
A craft kit has many parts, and the buyer cannot complete the project without every one of them. A single missing bead pack or a snapped brush ruins the experience. So the aim of packing is not only to prevent damage. It is to make sure that every component arrives, in good condition, and can be found again.
Make a packing list and use it
Write a checklist of every item in the kit. Print it or keep it on your table. Before sealing each box, tick off the items against the list. This is the single most effective habit for avoiding missing parts. Include the same list as a card inside the box so the customer can check on opening.
Group components in small bags
Put small items, such as beads, pins, thread, clasps or seeds, in sealed bags, each in its own bag or a small compartment. Label the bags if there are several similar ones. This protects the parts from spilling and helps the customer when they open the box. Choose bags a bit larger than the contents, so they do not burst when pressed.
Separate liquids and powders
Paint, glue, resin hardener and powder pigments can leak or spill and stain other parts. Seal each in a bag, with absorbent paper if it is a liquid. Keep these apart from paper, fabric and printed instructions. Check lids and caps are tight.
Protect fragile and printed parts
Boards, canvases and printed templates bend and dent easily, so keep them flat. Add a card layer on both sides, and place them at the back of the box. Brushes and sharp tools should be wrapped in paper or placed in a small tube, so that bristles keep their shape and points do not pierce the box. Instruction booklets should sit on top or in a sleeve to avoid damp and creasing.
Use an inner box or tray
A good method is to pack the kit in its own presentation box, then place that box in a sturdy outer carton. The inner box keeps parts organised, and the outer carton gives protection against crushing. Fill empty space with crumpled paper so nothing rattles. Shake the closed box gently as a test.
Think about weight distribution
Heavy items such as wooden boards or tins should sit at the bottom or centre with softer items around them. If a heavy part can slide, it will punch through a flimsy lid.
Protect against damp
Paper, thread and fabric can be spoiled by moisture, so wrap the contents in a sealed poly bag inside the box. This also keeps loose parts from escaping if the box splits.
Label and photograph
Write the order number outside, and mark "This side up" if there is liquid. Take a photo of the open box with all parts visible before closing it. If a customer later says something is missing, you can compare, as discussed in issuing a partial refund for missing items. The wider topic of kits and complaints is covered in craft kits return risks.
A final check
Ask yourself whether you could rebuild the kit from the box. If yes, you have packed clearly. Customers who receive a neat, complete kit start with enthusiasm, and that enthusiasm often turns into photos and recommendations.