
How to photograph small items like stickers, pins and badges
Tiny products need sharp focus, neat arrangements and a clear sense of size. Here is how to shoot stickers, pins and badges on a phone.
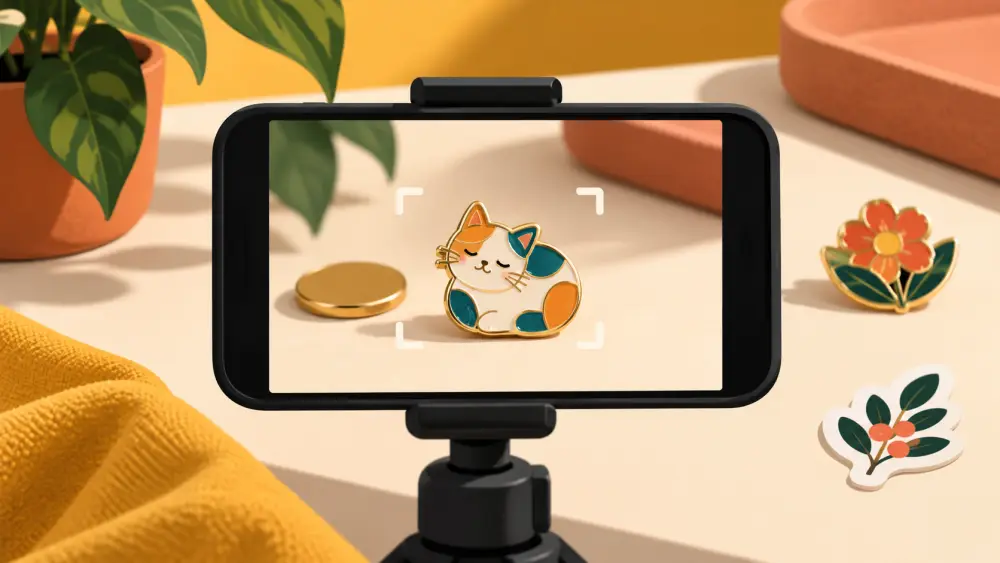
Stickers, enamel pins, badges and keychains are small, colourful and often sold in sets. That makes photographing them a balance between showing fine detail and showing how big they really are. Three things solve most of the problems: sharp focus, tidy arrangement and a scale reference.
Get sharp focus up close
Phones often refuse to focus when you hold them very close to a tiny object, or they focus on the background instead. Back the phone away a little, zoom in to fill the frame, and tap on the item to set focus. If the camera has a macro or close-up mode, try it, then compare the result with the zoom method and keep the sharper one.
Keep the phone steady. Rest your elbows on the table or prop the phone on a stack of books, and use a timer or the volume button so pressing the shutter does not shake it. Small items magnify every wobble.
Flat items: shoot straight down
Stickers, patches and prints are flat, so photograph them from directly above. Place them on a plain surface and hold the phone parallel to the table so the edges look square. A tilted phone makes a rectangle look like a trapezoid, which is a distortion problem also discussed in how to photograph art prints flat. Use even light from a window and avoid casting your own shadow over the item.
Glossy sticker finishes catch light as a bright patch. Change the angle of the item or move the light until the glare moves off the design.
Pins and badges: add depth
Pins have height, a post and a clasp. Shoot the front for the design and add an angled shot to show thickness. If it has a clasp or backing card, include a photo of the back, since buyers like to see how it fastens. Pinning the item to a plain piece of felt or fabric holds it upright and looks neat.
Arrange sets neatly
For a pack or set, lay everything out in an even grid with equal gaps, aligned along straight lines. Keep a plain background and avoid overlap so each design is visible. Photograph the full set first, then individual items. If you sell different designs separately, a single clear photo per design helps the buyer choose.
- Use the same spacing and backdrop across all packs.
- Wipe off dust and fingerprints before shooting, using the routine in how to avoid fingerprints and dust in product photos.
- Keep the colours true, since bright designs can shift under the wrong light.
Show scale clearly
A buyer cannot tell from a close-up whether a pin is the size of a coin or of a palm. Add one photo with the item beside a hand, a coin or a ruler, and write the measurements in the description. A scale reference helps, but it does not guarantee a buyer will read it, so state the size in the text too. More on this is in how to show product size in photos.
Add one photo of it in use
A sticker on a laptop or bottle, a pin on a bag or jacket, shows how it is meant to be used. Keep it uncluttered so the item stays the focus.
Keep the set consistent
Use the same backdrop, same light and same layout style across every listing. The basics of this approach are in photographing products on a phone. A consistent catalogue of tiny items looks organised, even when each product is only a few centimetres wide.