
How to photograph art prints and paintings flat and true
Flat artwork needs even light and a square-on camera. Here is how to avoid glare, shadows and slanted edges when you photograph prints and paintings.
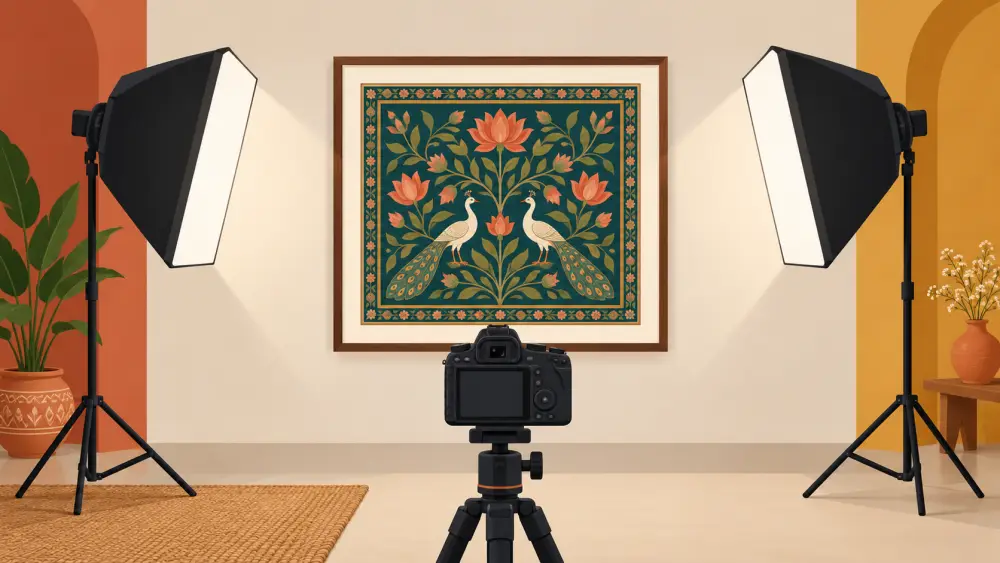
Art prints and paintings should look like the real thing, with straight edges and even light. Three problems spoil most attempts: uneven lighting, glare and a slanted camera angle. Each has a simple fix.
Light from both sides
Uneven light creates a bright patch on one side and a dim patch on the other. The easiest approach is to light the artwork evenly from two sides. Near a window, place the work on a wall or board so the window light comes in from the side, then place a large white card or sheet on the opposite side to bounce light back. If you have two lamps, use identical bulbs at equal distance on both sides at roughly a 45 degree angle to the artwork.
Daylight on a bright but overcast day is the gentlest source. Avoid direct sun, which causes hard shadows and glare.
Beat the glare
Glossy prints, varnished paintings and anything behind glass bounce light straight back at the camera. Angling the lights to the sides, rather than from in front, sends the reflection away from the lens. If the glass or varnish still shows reflections, remove the glass for the photo if possible, or turn off other light sources, close curtains behind you and wear dark clothing so you are not reflected. Take the photo and check the screen for any shine.
Get the camera square
A tilted phone makes a rectangle look like a trapezoid, called keystone distortion. To avoid it:
- Hang or prop the artwork vertically on a wall, or lay it flat and shoot straight down.
- Hold the phone at the exact centre of the artwork, at the same height as its midpoint.
- Keep the back of the phone parallel to the surface.
- Turn on the grid in your camera settings and line up the edges with the grid lines.
Stand back and zoom in a little rather than getting very close, which reduces edge distortion. Take a couple of shots and compare the edges with the grid.
Fill the frame neatly
Crop so the artwork fills the frame with a little border, without cutting off any edge. If the work has a deckled or irregular edge, show it on a plain contrasting background so the shape is visible. For canvas, a second photo from the side shows depth.
Colour: close, not identical
Phone screens differ, and printing and paper change how colour reads, so no photo will match perfectly everywhere. Shoot in even daylight, compare your screen with the original and adjust a touch if needed, using how to fix a colour cast in product photos. Do not claim in your listing that the colours will match exactly, and mention that screens vary.
Add context and scale
A flat shot is the main image, but add one showing the piece hung on a wall or beside furniture, plus a note of the size in the description, as in how to show product size in photos. For a few detail close-ups of brushwork or texture, hold the phone steady and tap to focus.
Keep it consistent
The same backdrop, light and crop across your catalogue make a collection look professional. The broader basics are in photographing products on a phone, and if you are launching, how to start selling art prints online covers the rest.