
How can a small seller make a before-and-after Reel?
Before-and-after clips work when the change is real and visible. Here are three honest versions, raw material to product, cleaning and styling, with no misleading edits.
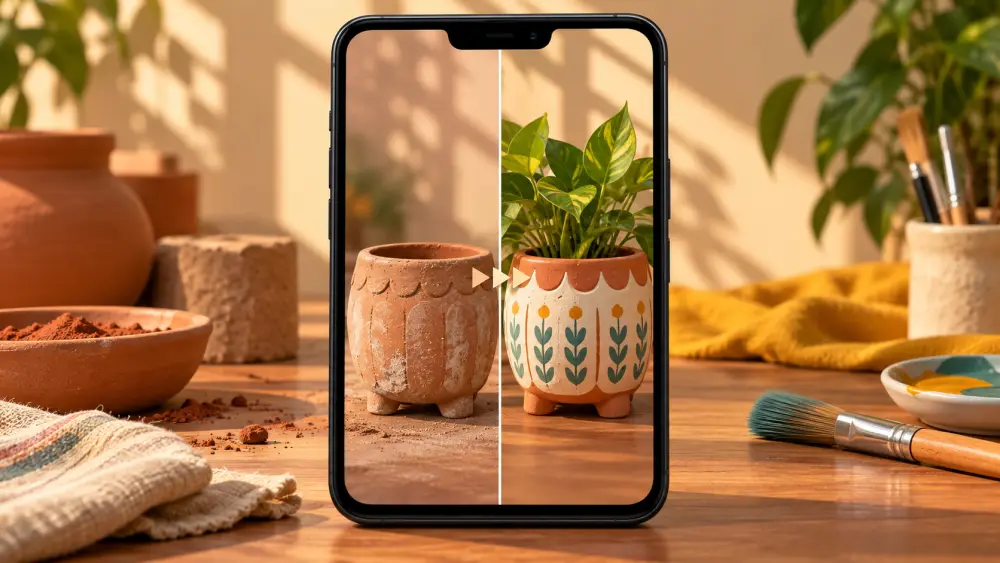
A before-and-after Reel has a built-in story. Something starts one way and ends another, and the viewer waits to see how. For a small seller, three kinds of change work well, and none of them need special effects.
Raw material to finished product
This is the easiest version for makers. Start with the materials on a table: wax and wicks, unspun cotton, plain wood, blank fabric, a block of clay. End with the finished item in the same spot.
To keep it simple:
- Fix your camera above the table and do not move it.
- Shoot the raw state first for two seconds.
- Film two or three key steps in short bursts, not the whole process.
- Show the finished piece in the same frame as the start.
The "same frame" part is what makes the change feel real. If you want to speed up the process, say "sped up" in the text. That is honest, and viewers will understand.
Cleaning and restoring
If you sell items that are cleaned or refreshed, such as brassware, thrifted accessories, or old furniture you restore, a before-after shows your work directly. Show the dull or dirty state in good light, then the same item after cleaning.
Be fair here. Use the same light, the same angle and the same camera settings in both. Do not brighten the after clip more than the before one. Do not add filters that change the colour. If a scratch could not be removed, show it. A buyer who finds a flaw you left out will not trust you again. For more on lighting, how to brighten product photos without ruining them is a good guide.
Styling transformations
A styling before-after shows the same space or outfit with and without your product. A plain shelf, then the same shelf with your planters. A simple kurta, then the same kurta with your dupatta and jewellery.
Say what changed. If you added three things and only one is yours, mention that, so no one thinks your product alone did all the work. This also helps you sell the rest of the look, with each item named in the caption.
Do not imply typical results
Some products show a change in a person or a surface, such as skincare, cleaning products, or hair items. Be very careful with these. A single before-after does not show what other people will see. If you show a result, say plainly that results differ, say how long it took, and describe everything else you did. If you cannot do this honestly, pick a different kind of before-after, such as the packaging process.
Do not use someone else's photos, and do not use images from a supplier to look like your own work.
Edit lightly
Use a simple cut or a slide transition. Many phone editors let you place the two clips side by side. Keep the timing about equal for the two states. The final frame should hold for a second or two, long enough for the viewer to read the product name.
If you want help planning the structure, see how to structure an Instagram Reel for your products.
Make the next step easy
End with a clear line, such as the product name and where to find it. From Instagram bio to your first order describes how to set up that path.
Pick one product you already make, set the phone on a stack of books, and film the empty table first. That single clip is half of the Reel already.