
Pick, pack, hand over, a simple checklist for home sellers
A short checklist covering the item check, label check and handover can catch many mistakes before a parcel leaves your hands. It will not remove errors, but it will make them rarer.
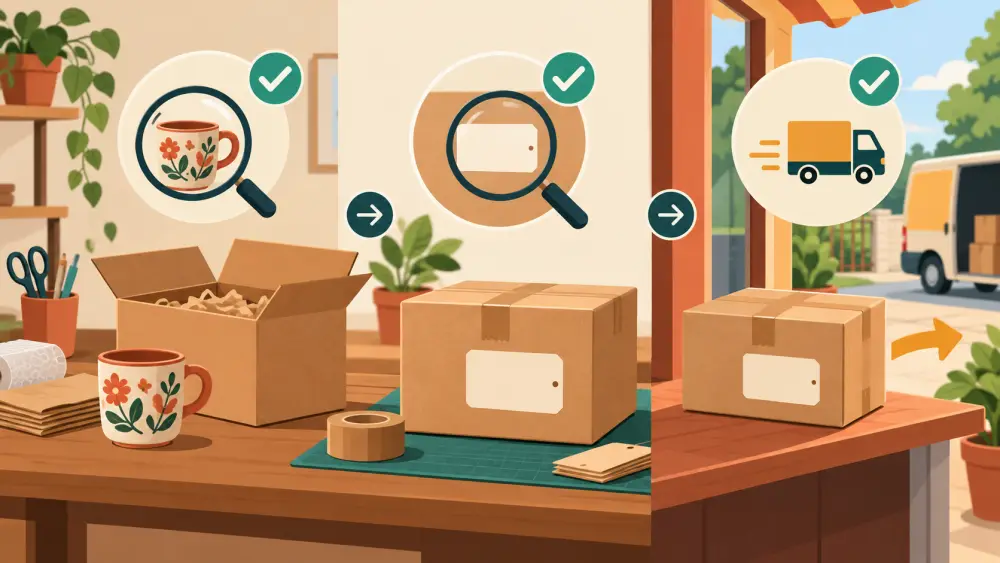
Most shipping mistakes are not caused by carelessness. They happen because you were tired, in a hurry or doing three things at once. A checklist is a simple way to catch what a tired mind misses. Pilots and nurses use them for the same reason. A checklist will not remove errors altogether, but it can make them less frequent and easier to trace.
Keep it short, because a long list gets skipped. Print it, or keep it on your phone, and tick through it for every parcel.
Pick
This stage is about getting the right things off the shelf.
- Read the order line by line, not from memory.
- Check the product name, size, colour and quantity against the order.
- Look at the item itself, not just the label on the shelf, in case it was put back in the wrong place.
- Check for visible flaws, such as a crack, stain, loose thread or broken seal.
- Set aside anything with a custom detail and confirm that detail again.
If an item is out of stock or damaged, stop and contact the customer before you pack. How to handle size exchange requests for clothing is a useful example of how stock checks fit into customer messages.
Pack
This stage is about getting the item there in one piece.
- Choose a box or mailer that fits without crushing or rattling.
- Cushion fragile items and keep liquids sealed and upright.
- Add any inserts you promised, such as a bill, a care card or a free item.
- Close the parcel firmly and shake it gently to test for movement.
- Add a note with your store name and contact details, in case the outer label is damaged.
Different categories need different care. If you sell something delicate or awkward, look at a packing guide for your category, or at Cost of a damaged-in-transit parcel for a reminder of what a bad pack costs.
Label
This is the stage where small errors become big ones.
- Compare the name, phone and address on the label with the order, one field at a time.
- Check the pincode with extra care.
- For COD orders, confirm the amount to collect is correct.
- Stick the label flat and fully visible, away from tape seams that could tear it.
- Make sure the order number or tracking number is recorded against this parcel.
Hand over
This stage is about proof and tracking.
- Count the parcels against your list.
- Keep any receipt or acknowledgement from the courier or drop point.
- Photograph the stack or the handover if that is useful for your records.
- Update the order status in your list.
- Send the tracking details to the customer.
For what to include in that message, see How to share tracking details so customers stop asking.
Make it stick
Keep the list where you pack, and tick actual boxes for a week or two until the steps become habit. After that, use it as a spot check when something feels rushed.
Update it when something goes wrong
Every time you make a mistake, ask which step would have caught it, and add or sharpen a line. A wrong size shipped suggests a second size check. A swapped label suggests label-on-the-spot. Over time your checklist becomes a record of what your business has learned.
For the full flow of a day, read Building a daily dispatch routine as a solo seller.