
What aspect ratio should product photos be?
Aspect ratio is the shape of your photo. Pick one shape, shoot everything in it and leave a margin, so your catalogue looks even wherever it is shown.
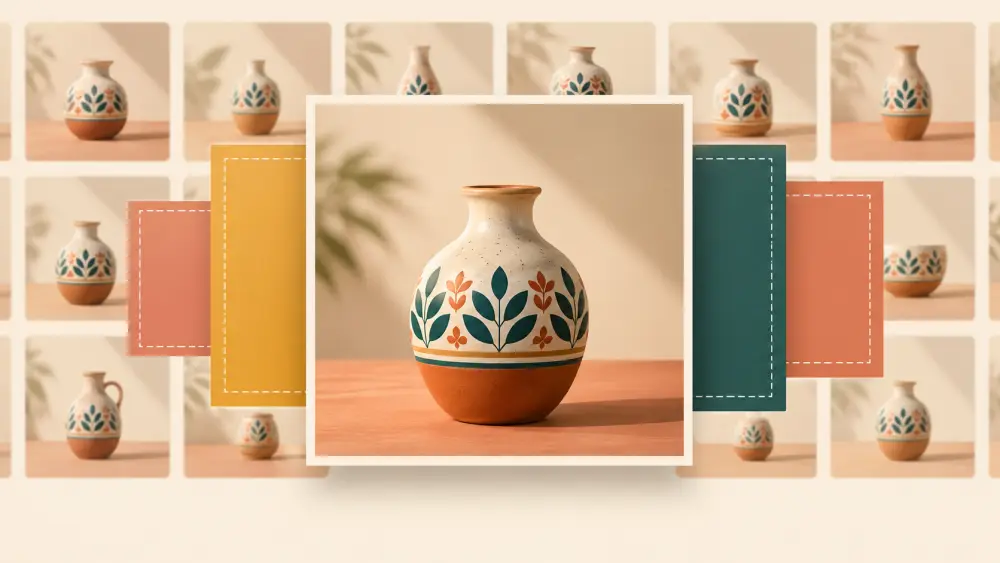
Aspect ratio is simply the shape of an image: how wide it is compared with how tall. Common shapes are square, a slightly tall rectangle and a wide rectangle. Sellers worry about which one is "correct", but the more useful question is how to stay consistent and avoid losing parts of your product when a photo gets cropped.
Why shape matters
Your photos appear in many places: a home page grid, collection pages, the product page, a shared link preview, and an Instagram post or story. Each place may show the image in a different shape. When the shape does not match, the image is cropped or padded, and a product shot too close to the edges can lose a corner, a strap or a handle.
Choose one shape and stick to it
Decide on one ratio for the whole catalogue and shoot every product in it. Square is a popular and forgiving choice because it works in many places, and a slightly tall shape suits clothing and bags. There is no single right answer, so choose based on what you sell. The product matters more than the number: a long, thin item might suit a wide frame, and a tall item a portrait one.
Most phone cameras let you pick a shape before you shoot. Set it once, rather than relying on cropping afterward, so you see the framing on screen as you shoot. Turning on the grid lines helps you keep the product centred and straight.
Leave a margin around the product
Even with a consistent shape, you should leave space around the product, so a later crop to a slightly different shape does not slice anything off. A rule of thumb is to keep the item comfortably inside the central area of the frame, with some empty background on every side. A tight crop is easy to make later, but you cannot add background that was never captured.
- Do not let any part of the product touch the edge of the frame.
- Keep more room above and below for tall items, and left and right for wide ones.
- Keep shooting distance the same across products so sizes look comparable.
Test your crops
Before shooting a whole batch, take one test photo and check it as a small square, as a taller rectangle and as a wide strip, using the crop tool on your phone. If the product survives all of them, your margin is good. How to keep the framing even across many products is in how to crop product photos consistently.
Do not stretch images
If a photo does not fit a frame, crop it instead of squashing or stretching it. Stretching distorts the shape of the product, which makes it look wrong. Retake or crop with the proper tool.
Check how your store displays them
After uploading, look at your store on a phone and on a computer. Check the main image in the product listing and in collection views, and make sure nothing important is cut off. If something is, reshoot with more margin, as covered in what your main product photo should show. For overall theme and layout choices, see customising your storefront theme and hero.
Quick summary
Pick one shape, shoot in it, keep a margin and test small crops. Consistency in your shapes makes the whole store look more organised, in line with photographing products on a phone.