
How to choose a few box sizes for your whole product range
Standardise on two or three box sizes so packing is faster, stock is simpler and parcels stay reasonably snug, with a method to group your products.
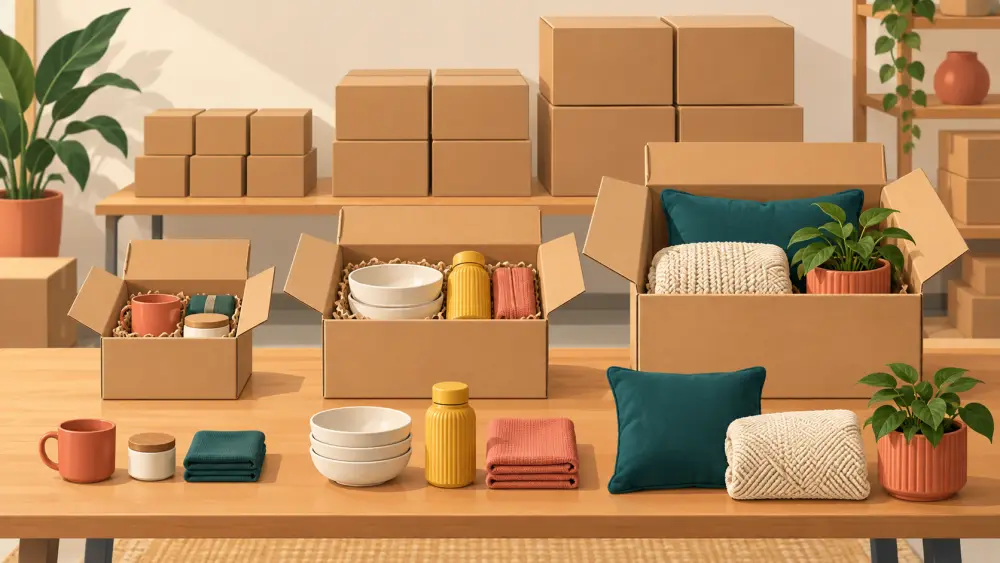
When every product gets its own box, packing becomes slow and storage turns into a mess. When one big box serves everything, parcels are bloated. The middle path is a small set of standard sizes, chosen from your real products.
Why standardise at all
A few sizes bring real benefits.
- You can buy boxes in larger batches, which suits a small seller who wants fewer reorders.
- You pack faster because the choice is already made.
- Storage is tidy, with boxes nested by size.
- New staff or family helpers learn the system quickly.
I will not claim any particular cost saving, because it depends on what you sell and what you pay. The gain is mainly in speed and predictability.
Step 1, list your products with packed measurements
Make a simple sheet with each product, its packed length, width and height, and its weight. If you do not have these yet, measure each product wrapped as you would send it, before it goes into a box. The guide on how to measure and weigh a parcel correctly explains the method.
Step 2, group by shape
Sort products into clusters.
- Flat and thin, such as prints, scarves or folded garments.
- Small and compact, such as jewellery, soaps or small jars.
- Medium and boxy, such as candles, bottles or shoes.
- Large or awkward, which do not fit any group.
Most small catalogues fall into two or three clusters, with a few outliers.
Step 3, pick a size for each cluster
For each cluster, choose a box that fits the largest item in the group with room for cushioning. Smaller items in the group will have a little extra space, which you fill with paper. If one item in a group is much larger than the others, move it to the next size up rather than letting it set the standard for everyone.
Aim for a box where the product plus protection fits snugly. Check by packing a real product and doing the shake test.
Step 4, handle outliers separately
Do not buy a new box size just for a product that sells once a month. Pack it in the nearest standard box, or use a mailer or custom cut cardboard. Only add a new standard size when a product or product group sells regularly and a better fit would help.
Step 5, plan for multi-item orders
Customers often buy several items. Think about how two or three products will pack together. Many sellers find that a medium box handles most two-item orders. Keep a note of which combinations fit into which box so packing stays quick.
Watch the cost of size
A larger box can raise shipping charges when size matters to the courier. Reading what is volumetric weight in simple words will help you see why. And packaging cost per order, a breakdown shows how to add box cost into each order.
Review every few months
Look at your sales mix again from time to time. If a new product line has grown, you may need to adjust your standard sizes. If one size sits unused, stop reordering it.
Keep a cheat sheet
Print a small chart with each product name and its box size and stick it near your packing table. It removes guesswork and makes packing a repeatable routine, which is what you want when orders start to grow. For a broader view of reducing parcel size without risk, read how to reduce parcel size without risking the product.