
How to pack resin art so it reaches the customer safely
Resin scratches easily, chips at the corners and can crack under pressure. These packing steps protect the glossy surface and the edges.
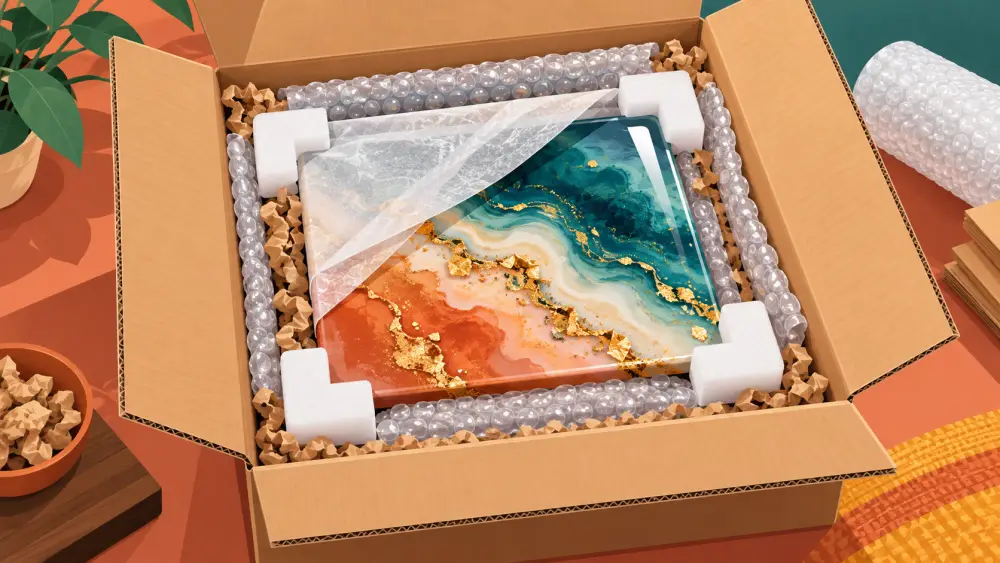
A resin piece can survive years on a wall and still arrive scratched because of how it was packed. The surface scratches from anything rough, edges chip when they knock against the box, and thin pieces can crack if the parcel is squeezed. Your packing needs to guard against rubbing, knocks and pressure, in that order of likelihood.
Step 1: Protect the glossy surface first
The first layer touching the resin must be soft and non-abrasive. Wrap the piece in a clean, thin foam sheet or a soft cotton cloth. Avoid directly placing newspaper or rough paper on the surface; the ink can mark it and the paper can leave tiny scratches. Do not stick tape on the resin itself. Tape residue and peeling can damage the finish.
If the surface is mirror-like, add a sheet of tissue between the resin and the foam. It costs almost nothing and stops friction marks.
Step 2: Guard the edges and corners
Chips happen at corners. Cut cardboard pieces slightly bigger than the item and sandwich the wrapped piece between two of them, so the edges sit inside the cardboard instead of at the box walls. For round items such as coasters, stack with a cardboard disc between each one so they cannot grind against each other.
Step 3: Stop movement inside the box
A piece that slides around will hit the box. Choose a box a little larger than the piece, then fill all the gaps with crumpled paper, bubble wrap or foam. Shake the closed box gently. If you feel or hear anything shift, add more filler. Keep at least a few centimetres of cushioning on every side, including the top and bottom.
Step 4: Handle thin or large pieces with a rigid base
Wall panels and long trays can flex. Add a firm board behind the piece, such as thick cardboard or ply, taped to the wrapping and not to the resin. This spreads pressure so the piece does not bend if something heavy sits on the parcel.
Step 5: Use a strong outer box
Reuse only boxes that are still rigid. A soft or damaged box offers no protection. Seal all seams with strong tape. Write "Fragile" and "This side up" on the outside, understanding that couriers may not always follow it, so the inside packing must do the real work.
Step 6: Keep heat away
Resin can soften or mark in strong heat. Do not leave packed pieces in sun or a hot vehicle before pickup. Mention in your product page that the piece should be kept away from direct sun and heat once received.
Step 7: Document before sending
Photograph the piece before wrapping and the packed box before taping. If a damage claim arrives, you can compare. Ask your customer to share an unboxing photo or short video if the parcel looks damaged, ideally before they discard the packing.
Include a care note
A small card with simple care helps: wipe with a soft dry cloth, avoid abrasives and keep out of direct sun. For wording, see how to write care instructions for your products.
If something still breaks
Decide your policy ahead and state it clearly. Read cancellations, refunds and restocking for ideas, and share tracking updates so customers know when to expect delivery; order tracking your customers can trust covers that.
Summary
Soft layer on the surface, rigid protection at the edges, no movement, strong outer box, no heat, and photos before sealing. These steps are cheap and take a few minutes per parcel.