
How to pack hand embroidery pieces so they reach the customer safely
Embroidery should arrive flat, clean and crease-free. These steps cover padding, moisture and keeping hoops from getting crushed.
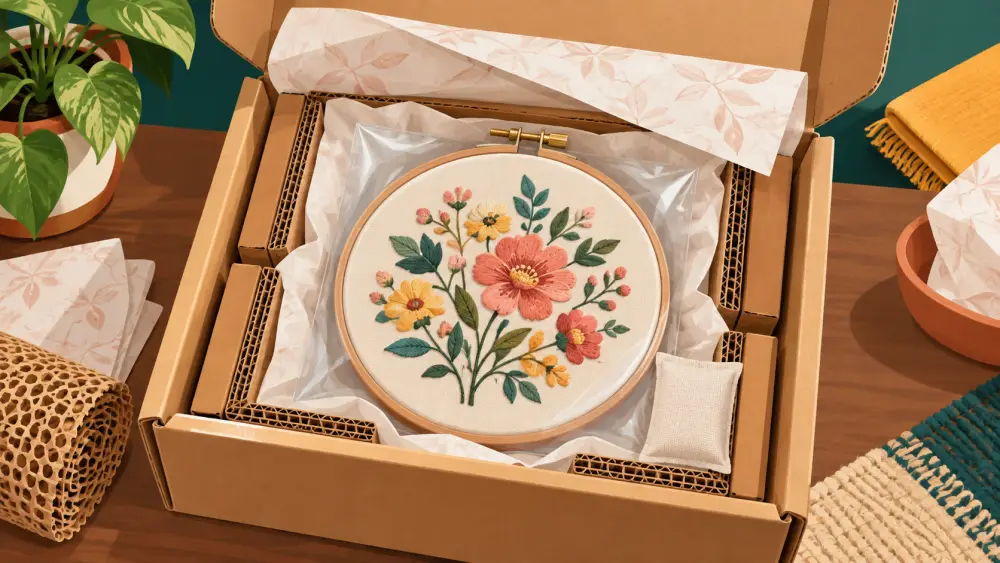
Embroidery does not break like glass, but it can arrive spoiled: creased in a fold, stained by damp, squashed in a hoop, or snagged on something rough. A crumpled piece that took you ten hours to stitch will not look like your photos, and the customer will notice. The goal in packing is to keep it flat, dry and free from pressure.
Step 1: Finish and check the piece
Trim loose threads, check the back, and make sure the piece is clean and fully dry. Press it lightly if the fabric allows, using a cloth between the iron and the stitches. Never pack a piece that is even slightly damp; moisture can lead to marks or a musty smell on the way.
Step 2: Wrap it in a clean layer
Place the piece inside a clean cotton cloth or acid-free tissue paper. The first layer should be soft and lint-free. Avoid printed newspaper against the fabric because ink can transfer. If the piece has raised stitches like beads or knots, put tissue over them without pressing them down.
Step 3: Put it in a plastic sleeve
Slide the wrapped piece into a clear polybag, and seal it. This protects against rain, spills and humidity during transit. Squeeze out extra air but do not suck it flat, which can mark the thread. Keep a silica sachet in the bag if you have one, and make sure it never touches the fabric.
Step 4: Keep it flat
Do not fold embroidered fabric if you can avoid it, since folds leave permanent lines. Place the piece between two sheets of stiff cardboard that are a little larger than the piece. Tape the cardboard together at the edges, not over the embroidery. For larger items, a thick board works better than thin cardboard.
Step 5: Hoops and frames
For hooped embroidery, tape a firm cardboard circle over the front of the fabric to protect the stitches and a second one on the back, then add bubble wrap around the hoop. For a framed piece, protect the corners with extra cardboard and add padding around all four sides, following the same steps as other fragile items. If the frame has glass, tape an X over it and wrap thoroughly.
Step 6: Choose a suitable outer pack
A padded mailer works for flat pieces with a cardboard stiffener inside. Use a box for hoops and frames. Fill any empty space so nothing shifts. Write "Do not fold" on the outside, though the real protection is inside.
Step 7: Add a note and photograph before sealing
Include a short care card: wipe or spot clean gently, avoid wringing, keep away from direct sunlight and damp. For ideas on wording, see how to write care instructions for your products. Photograph the packed parcel before sealing, as a record if a dispute arises.
Plan for delivery delays
Parcels can sit in transit during bad weather. A sealed plastic layer and a dry core are your insurance. Share the tracking link so customers know when to expect it; order tracking your customers can trust explains how.
If a piece arrives damaged
Ask for photos of the parcel and the piece. A minor crease can often be fixed with a cool steam; offer guidance or a small partial refund where it makes sense. See cancellations, refunds and restocking.
Quick list
- Dry, clean, trimmed
- Tissue or cotton against the fabric
- Polybag seal
- Cardboard sandwich, flat
- Padded mailer or box
- Care card
- Photo before sealing
It takes a few extra minutes per order, and it protects work that cannot easily be redone.