
How to remove a background from a product photo
There are two broad ways to cut a product out of its background, by hand or with an automatic tool. Each has strengths, and neither replaces a clean shot.
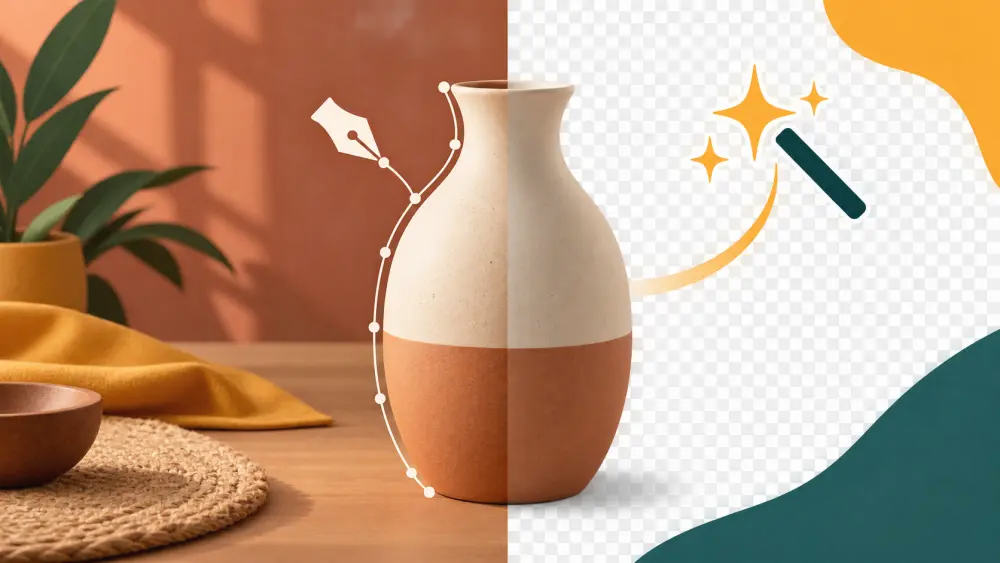
Sometimes a photo has a messy background, or you want every product on the same plain colour. Removing the background means cutting the product out and placing it on a clean one. There are a few ways to do it, and the right one depends on your product and how many photos you have.
First, ask whether you need to
The easiest background to remove is the one you never had. A plain wall, a sheet of paper or a clean cloth, with soft light, gives a tidy photo with no cutting at all. Shooting well is described in photographing products on a phone. Cutting a product out adds time and a chance of errors, so keep it for photos that truly need it.
Method one: manual cutout
In this approach you trace around the product yourself using a selection or lasso tool in an editing app, then delete or replace what is outside. Many free and paid editors offer it.
Strengths: - You control every edge. - It works for odd shapes where automatic tools struggle.
Weaknesses: - It is slow, especially for detailed items like chains or fringes. - A shaky outline leaves jagged or cut-off edges. - It takes practice to get a natural result.
Zoom in while tracing, use a small brush for corners and soften the edge slightly so it does not look cut with scissors.
Method two: automatic background removal
Many apps and websites can detect the main subject and remove the background with one tap. Quality varies a lot between tools and between photos. They work best when the product contrasts strongly with the background and has solid edges.
Strengths: - Fast, and good for batches. - Needs little skill.
Weaknesses: - Fine details such as thin straps, transparent glass, hair-like fibres and shiny reflective edges can be cut wrongly. - A product similar in colour to its background can lose parts. - Always check the result at zoom, since small errors only show up when enlarged.
Automatic tools may also upload your photos to a server, so check the terms before using one on unreleased products.
After the cutout
Place the cutout on a plain background, usually white or a soft neutral. Check these points:
- Edges are clean, with no leftover halo of the old background.
- A soft shadow beneath the product keeps it from floating, which makes it look pasted on.
- Colours at the edge do not carry a tint from the old background.
- The product keeps its real colours and proportions.
Do not alter the product
Cutting out is fine for tidying up. Retouching the product itself to make it look better than it is can mislead buyers and drive returns, a theme in returns and RTO: what nobody tells you.
Keep the original
Save the untouched photo, so you can redo the cutout if it goes wrong. Export the finished image in a suitable format, which is covered in JPEG vs PNG vs WebP for product images, since a cutout with transparency needs a format that supports it.
A realistic approach
Use a plain backdrop whenever you can, and save background removal for the few photos where it saves the shot. Keep the end result consistent with the rest of your catalogue, as discussed in what a website says about a brand before anyone buys.