
How to photograph food products so they look fresh
Food photographs well when the light is soft, the props are simple and you work fast. Here is a practical routine for home food sellers shooting on a phone.
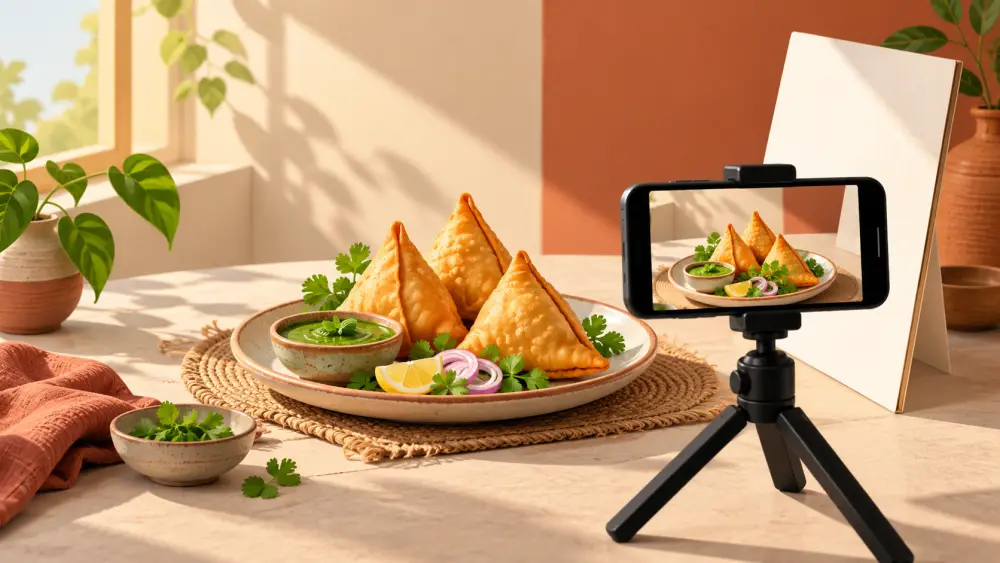
Food is judged by the eye first. A photo that looks appetising invites a buyer to imagine the taste, while a dull or messy one raises doubts before they read a word. You do not need a studio. You need good light, a simple setup and a quick hand.
Use natural light and keep it soft
Shoot near a window in daytime. Soft, indirect light makes food look natural, while the yellow glow of room bulbs tends to make everything look dull and a little orange. Turn off the ceiling lights while you shoot so the colours do not mix. If the sun hits the food directly and creates sharp shadows, hang a thin white sheet over the window or move back from it.
Place the window to the side of the food rather than behind your phone, so the light shapes the item and shows texture. A white sheet of card or foil-free paper on the opposite side bounces some light back into the shadows.
Keep props simple and relevant
Props should hint at how the food is eaten, not crowd the frame. A plain plate or board, a small bowl, a spoon, a folded cloth napkin, one or two raw ingredients. Skip anything that distracts, and keep colours neutral so the food is the loudest thing in the frame. If your food is brown or beige, a plain light or dark plate makes it stand out better than a busy pattern.
Do not use props that suggest something you are not selling. A bowl of fruit beside a savoury snack may make buyers wonder if it comes included.
Prepare the food, then shoot quickly
Food changes the moment it is ready. Oil settles, steam disappears, crisp things soften and greens wilt. Set up your light, backdrop and phone position first with a stand-in item, and only then bring in the real food. Take your shots in a few minutes, then eat or pack it.
- Wipe plate rims and edges clean just before shooting.
- Arrange the item neatly, with a little breathing space around it.
- Take several angles in one go rather than rearranging again and again.
Try a few angles
A top-down view works well for flat items like biscuits or a spread. A shot at roughly eye level with the plate shows height and layers, which suits stacked or filled foods. A closer detail shot shows texture. Take all three and pick what represents the item most honestly.
Be honest about the result
Show the portion size and appearance a buyer will actually receive. Heavy filters can change the colour of food and set the wrong expectation, which leads to disappointment and complaints. Stick to the true colour. Avoid language or props in the photo that imply claims about the food that you cannot support, and keep the focus on how it looks and what it is.
Include the packed product too
Customers also want to see what arrives at their door. Add a photo of the packaged item as it ships. For the packaging side of things, see how to photograph packaged snacks, pickles and jars. If you are starting out, how to start selling homemade food online puts photography in the context of a whole launch.
Keep the look consistent
Use the same backdrop, similar light and similar angles across all products so the catalogue reads as one brand. The general approach is described in photographing products on a phone, and good descriptions to sit beside your photos are covered in writing product descriptions people read.