
How to plan the festive season if you sell DIY craft kits
A lead-time checklist for craft kit sellers, built around school holidays, kids' birthdays and gifting, without guessing demand.
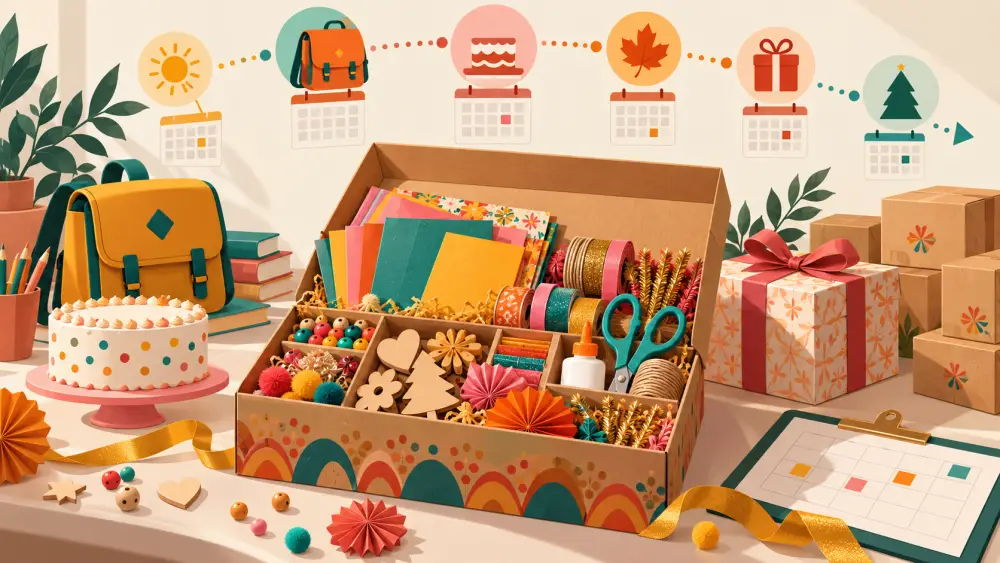
Craft kits sell on occasions: a school holiday that leaves parents looking for something to keep children busy, a birthday party that needs return gifts, a festival week when relatives visit. The trouble is that these windows arrive quickly and your kits take time to source, assemble and pack. Planning backwards from the occasion is the whole job.
This post does not try to predict how much will sell. It gives you a sequence of tasks so you are never rushing. For a broader view across product types, see festive season selling: a calendar for small brands.
Step 1: Work out your real lead time
Before any calendar, count how long one batch takes you. Include sourcing materials, cutting or sorting parts, packing into pouches, writing or printing the instruction sheet, and boxing. Then add courier time to your farthest customer. Add a buffer on top for supplier delays. That total, in days, is how early you must start for any occasion.
If you assemble by hand, your maximum per week is also a limit. Count it honestly and note it down; it becomes your stock number.
Step 2: Mark the windows that matter to you
Look at the school calendar for your city, since holiday dates differ by board and state. Check your own order history from last year: when did enquiries pick up? Festival dates move each year, so confirm them on a current calendar instead of relying on memory. Write the start of each window and subtract your lead time. That is your "must be ready" date.
Birthday demand does not follow a calendar; it is steady. For that, think of a "birthday pack" version of a kit: a smaller, quicker-to-make kit that you can assemble in advance and sell as a return gift.
Step 3: Source materials early
Run out of one component and the whole batch stops. Order the slowest or most special parts first: custom-cut wood, printed boards, specific paint colours. Order a little extra of small parts that get lost, such as beads or pins. Materials that arrive late are the most common cause of missed windows.
Step 4: Build the kits in stages
Do not wait for orders to start. Prepare parts in bulk: pre-cut, pre-count, pre-bag. Keep the final step, putting the kit in its box with the sheet, for when an order comes. This keeps stock flexible if one design sells faster than another.
Step 5: Update listings before the rush
Check each listing: contents list, difficulty, time, finished size and photos. A busy-season customer decides quickly and will not hunt for details. Update stock counts in your catalogue and make sure the stock number matches what you can really make. A customer buying a kit you cannot deliver in time is a refund waiting to happen. If you sell several designs, tracking stock per variant helps you see what is left of each.
Step 6: State dispatch times clearly
Write on the product page how many days you need to dispatch and by when an order must be placed to reach before a given occasion. Customers appreciate a plain cut-off. Avoid promising delivery on a specific date, since couriers vary; see shipping across India.
Checklist
- Batch time plus courier time plus buffer
- Window start minus lead time
- Slow materials ordered first
- Parts prepared in bulk, final packing on order
- Listings and stock checked
- Dispatch cut-off written on the page
- Notes saved for next year